Manage your product inventory effectively in WooCommerce and take a glimpse on essential features like stock tracking, stock levels for different products, low stock alerts, out of stock alerts etc. Follow this simple process to do inventory management in WooCommerce easily in a few minutes.
Steps to Perform Effective Inventory Management in WooCommerce
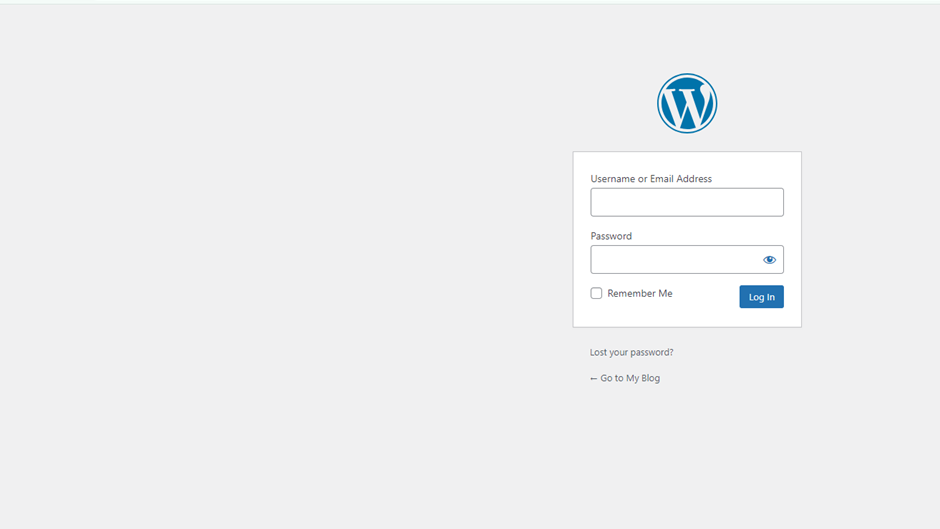
1. Log in to Your WordPress Dashboard
Navigate to “yourwebsite.com/wp-admin” and log in with your admin credentials.

2. Setting Up Stock Management in WooCommerce
2.1 Navigate to WooCommerce Settings
- Click on “WooCommerce“ in the left-hand menu.
- Select “Settings” from the dropdown.

2.2 Go to the Products Tab
- Click on the “Products” tab.
- Select “Inventory” from the sub-tabs.

2.3 Configure Inventory Settings
- Enable Stock Management
Check the box for “Enable stock management” to allow WooCommerce to manage stock levels.
- Stock Display Format
Choose how stock status is displayed (e.g., “Show stock amount” or “Show stock status”).
- Hold Stock (minutes)
Set the number of minutes to hold stock for unpaid orders.
- Low Stock Threshold
Enter the number of items at which you want to be notified when stock is low.
- Out of Stock Threshold
Enter the number of items at which products are considered out of stock.

- Save Changes
Then click on “Save changes” button.

3. Managing Stock Levels for Individual Products
- Navigate to Products
Click on “Products” in the left-hand menu.
- Edit a Product
Find the product you want to manage and click “Edit” or “Quick Edit.”
- Set Stock Quantity
You can set stock quantity in the “Product Data” section and search for the “Inventory” tab.
- Enable Stock Management
Check “Manage stock?” if not already checked.
- Stock Quantity
Enter the current stock level for the product.
- Stock Status
Select “In stock,” “Out of stock,” or “On backorder.”
- Save Product Changes:
Click the “Update” button to save changes to the product.
4. Setting Up Stock Alerts and Notifications
4.1 Navigate to WooCommerce Settings
- Click on “WooCommerce” in the left-hand menu.
- Select “Settings” and then the “Products” tab.

4.2 Go to Inventory Settings
In the “Inventory” section, ensure that stock management is enabled as previously set up.

4.3 Configure Low Stock Notifications
- Low Stock Threshold
Enter the number of items at which you want to be alerted.

- Email Notification
WooCommerce will automatically send an email to the admin when stock falls below this threshold. Ensure your email settings are correctly configured under “WooCommerce” > “Settings” > “Emails.”

4.4 Configure Out-of-Stock Notifications
- Out of Stock Threshold
Enter the number of items at which the product is considered out of stock.
- Email Notification
Ensure that the admin email is set to receive notifications for out-of-stock products.

- Save Changes
Click “Save changes” to apply the new alert settings.

5. Monitoring and Updating Stock Levels Regularly
5.1 Review Inventory Reports
- Navigate to “WooCommerce” > “Reports”.
- Check “Stock” reports to monitor stock levels, low stock, and out-of-stock items.
5.2 Adjust Stock Levels as Needed
- Regularly review and update stock levels based on inventory counts and sales trends.
- Navigate to “Products” and update stock quantities for individual products as required.
5.3 Utilize Additional Plugins (Optional)
Consider using additional WooCommerce plugins for advanced inventory management, such as automated stock management or multi-location inventory systems.
6) Regular Inventory Audits
6.1 Conduct Regular Physical Counts
Perform periodic physical counts of inventory to ensure accuracy.
6.2 Reconcile Discrepancies
Update stock levels in WooCommerce to reflect any discrepancies found during physical counts.
6.3 Update Stock Alerts:
Adjust low stock and out-of-stock thresholds based on changes in inventory practices or product demand.
Using the above steps, you can efficiently manage your inventory and stock levels in WooCommerce, ensuring optimal control and timely notifications for improved inventory management.

