Discover the essential guide on modifying layouts and design elements to match your brand identity and follow this simple process to customize WooCommerce theme and enhance your online store’s appearance and improve shopping experience of a customer in a few minutes.
Steps to Customize WooCommerce Theme for Your Online Store
1. Log in to Your WordPress Dashboard
Navigate to yourwebsite.com/wp-admin and log in with your admin credentials

2. Basic Customization of Your Theme
2.1 Navigate to Theme Customizer
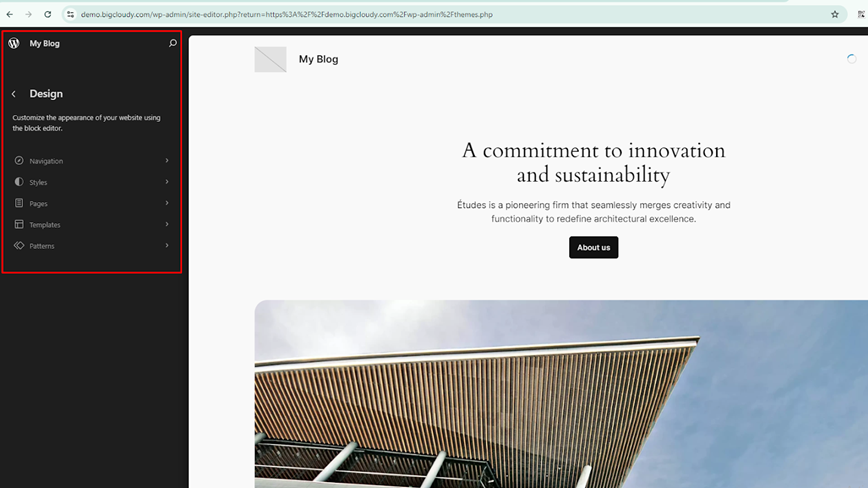
In the left-hand menu, click on “Appearance” and then “Customize.”

2.2 Customize Basic Settings
- Site Identity
Set your site title, and tagline, and upload a logo.
- Colors
Choose your primary and secondary colors.
- Header and Background
Customize the header image and background settings
- Save and Publish
After making changes, click the “Publish” button to save your customizations.

3. Advanced Customization of Theme Design and Layout
3.1 Install and Activate a Page Builder Plugin
- Navigate to “Plugins” and click “Add New.”
- Search for popular page builders like “Elementor” or “WPBakery Page Builder.”
- Install and activate the chosen page builder.


3.2 Customize Your Homepage
- Navigate to “Pages” and edit the “Home” page.
- Use the page builder to drag and drop elements, customize sections, and add widgets to create a unique homepage layout.


3.3 Customize Product Pages
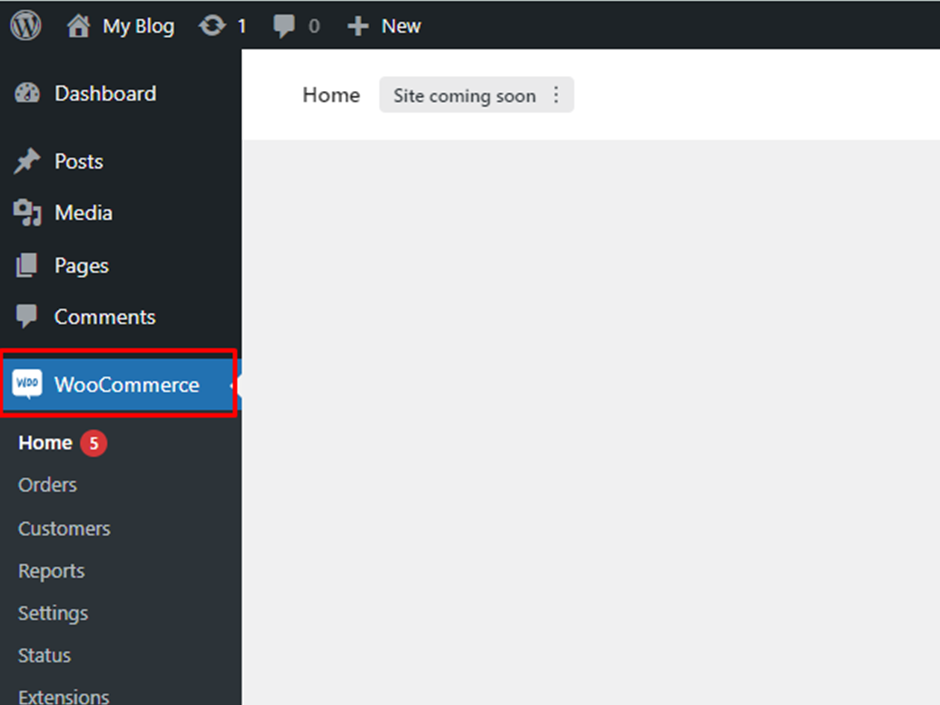
- In the WordPress Dashboard, go to “WooCommerce” > “Settings.”
- Click on the “Products” tab.
- Customize the layout, image sizes, and product information display options.


3.4 Modify Header and Footer
- To modify your website appearance search for “Appearance” > “Customize” > “Header” or “Footer.”
- Use the available options to customize the design and layout of your header and footer areas.


3.5 Using Custom CSS for Further Customization
- In the Theme Customizer, scroll down and click on “Additional CSS.”
- Add your custom CSS code to tweak the appearance of your site.
- You can use a custom CSS plugin if the “Additional CSS” option is not visible.
- Navigate to “Plugins” > “Add New.”
- Search for “Simple Custom CSS” or a similar plugin.
- Install and activate the plugin.
- After activating the plugin, navigate to “Appearance” > “Custom CSS.”
- Add your custom CSS code to tweak the appearance of your site.
3.6 Save Changes
Click “Save” to apply the custom CSS.
4. Utilizing WooCommerce Customizer Options
4.1 Navigate to WooCommerce Customizer
- Go to “Appearance” > “Customize.”
- Or Click on “WooCommerce” to access WooCommerce-specific customization options.

4.2 Customize Shop and Product Pages
- Adjust settings for product catalog, single product, product images, and checkout.
- Customize layout, image sizes, and product information display options.
5. Test Your Customizations
- Preview Your Site
Ensure all customizations look as expected.
- Test Responsiveness
Check your site’s appearance on different devices (mobile, tablet, desktop).
Using the above steps, you can select an appropriate WooCommerce theme for your store and customize it to create a unique and visually appealing online shopping experience for your customers.

