In this step-by-step guide follow these steps to switch default user in Hestia Control Panel. Learn to manage multiple users and switch them easily in few minutes.
Steps to Switch Default User in Hestia
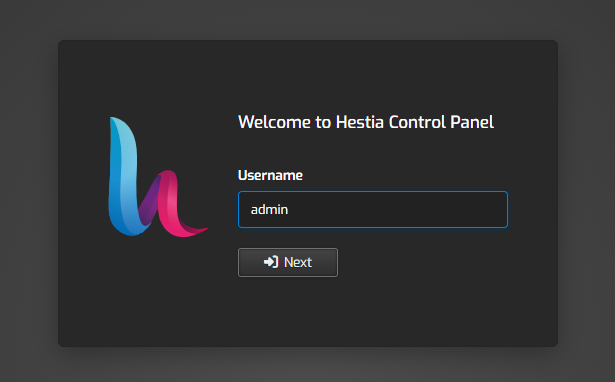
1) Login to the Hestia Control Panel

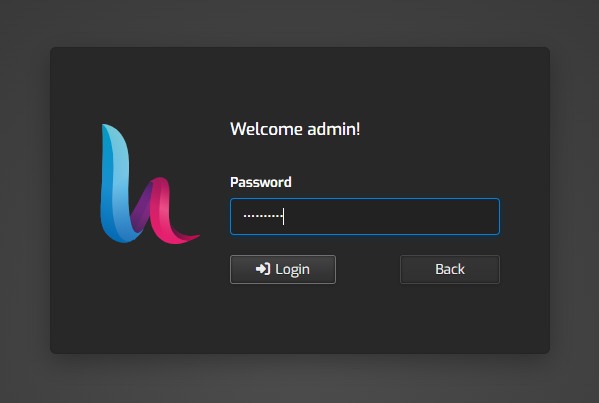
2) Enter your current “username” and “password”, then click on the Login button.
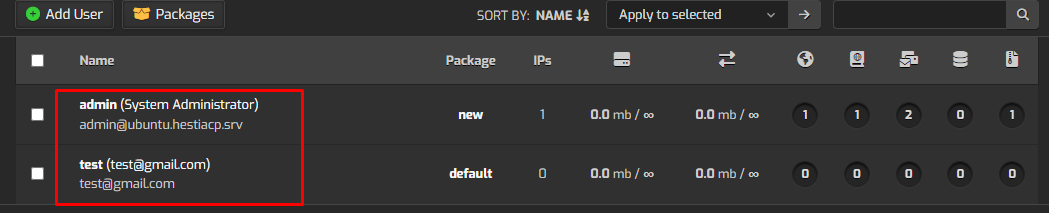
3) Once logged in, click on the “User tab” located in the top menu.

4) Click on the “username” of the user you want to log in as, and you will automatically enter that user’s account.
Using the above steps, you can switch the default users in the Hestia Control Panel.
Check out this article if you want to delete users in the Hestia Control Panel.