This article helps in modifying the theme language of Hestia according to your preferred language. Follow these steps to change theme language in Hestia control panel and improve the workflow and server management more easily.
Steps to Change the Theme Language of Hestia
1. Log in to your HestiaCP account using your credentials.
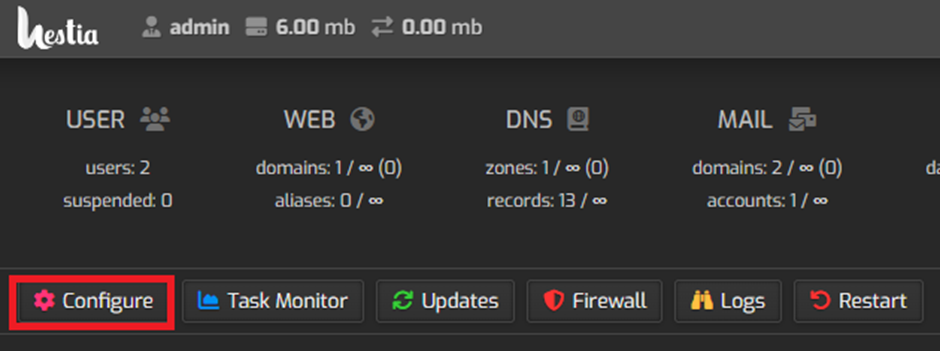
2. In the HestiaCP dashboard, locate and click on the “Server Settings” section.

3. In the Server section, look for the “Configure” option and click on it.
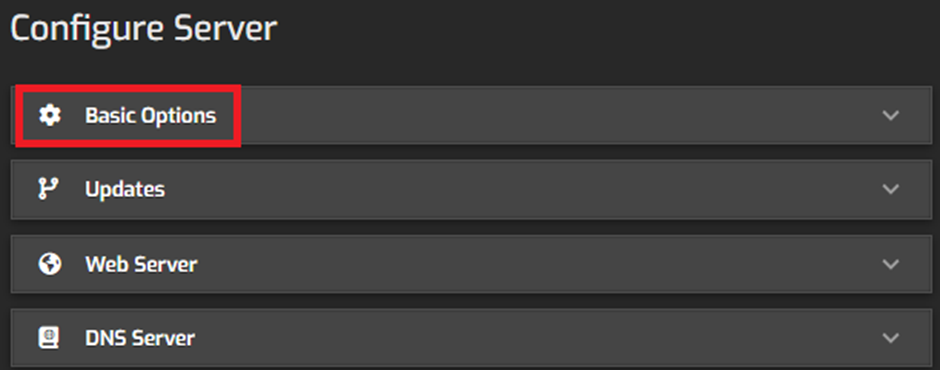
4. Then click on the “Web Server” option and to view a list of “Basic Options”.
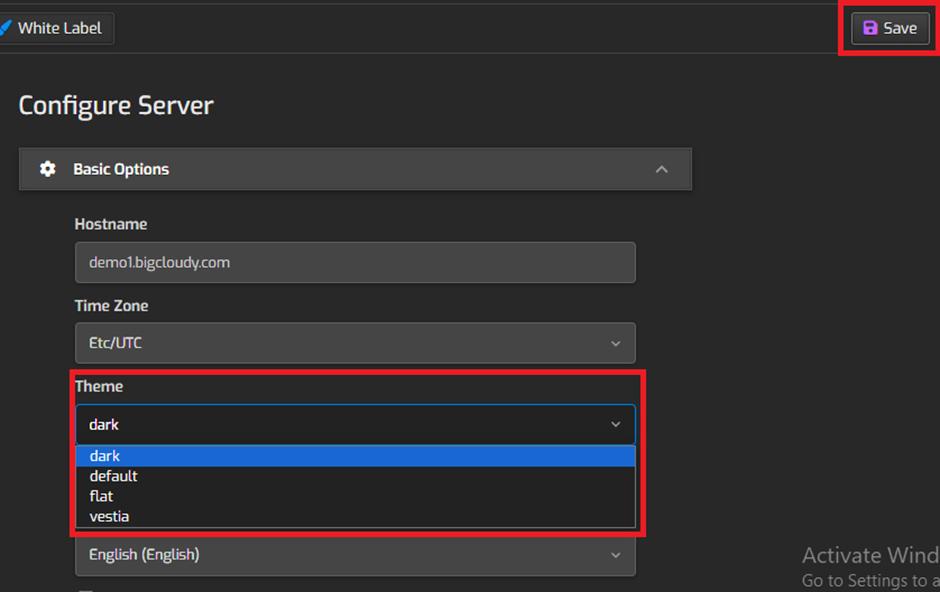
5. In the Basic Options, find the “Theme” option. This setting is usually under “Time Zone” or a similar category. Select the theme of your choice from the options. Click “Save” to change the theme.
By following these steps, you can easily customize the appearance and language of your Hestia Control Panel to better suit your preferences.