A store in Magento 2 is a distinct website or section within a website dedicated to selling products. Magento store management feature allows businesses to manage multiple stores from a single admin panel, each with its own product catalog, pricing, customer base, and theme.
Why is Store Configuration Necessary?
1. Brand Identity
Establishing your store’s name and URL is crucial for creating a strong brand identity. Consistent branding across all customer interactions builds trust and enhances recognition.
2. Localization
Configuring settings like timezone, currency, and language ensures your store caters to local audiences. This improves the shopping experience by displaying prices in the local currency and content in the native language
3. Operational Efficiency
Proper setup streamlines store management and operations. This alignment ensures that backend processes meet the store’s operational needs and customer expectations, leading to smoother operations.
4. User Experience
A well-configured store provides a seamless and intuitive shopping experience. This reduces cart abandonment rates and boosts customer satisfaction, ultimately driving higher conversion
Setting Up Basic Store Information
1. Store Name
i. Log in to the Magento 2 Admin panel.
ii. Navigate to Stores > Configuration.

iii. In the left sidebar, under General, click “General” again.
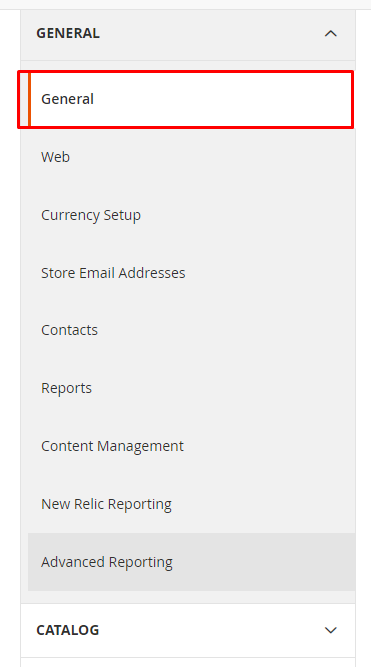
iv. Expand the Store Information section.
v. In the Store Information section, configure the following parameters:
- Store Name
Input the desired name for your store Example: “My Store.”
- Store Phone Number
Specify the contact phone number for the store.
- Store Hours of Operation
Define the operational hours during which the store is open.
- Country
Select the country where the store is geographically located.
- Region/State
Choose the appropriate region or state from the dropdown menu.
- Zip/Postal Code
Enter the postal or ZIP code for the store’s address.
- City
Provide the city where the store is situated.
- Street Address
Enter the primary street address of the store.
- Street Address Line 2 (Optional)
Include additional address details if necessary.
- VAT Number
Input the store’s VAT identification number, if applicable.
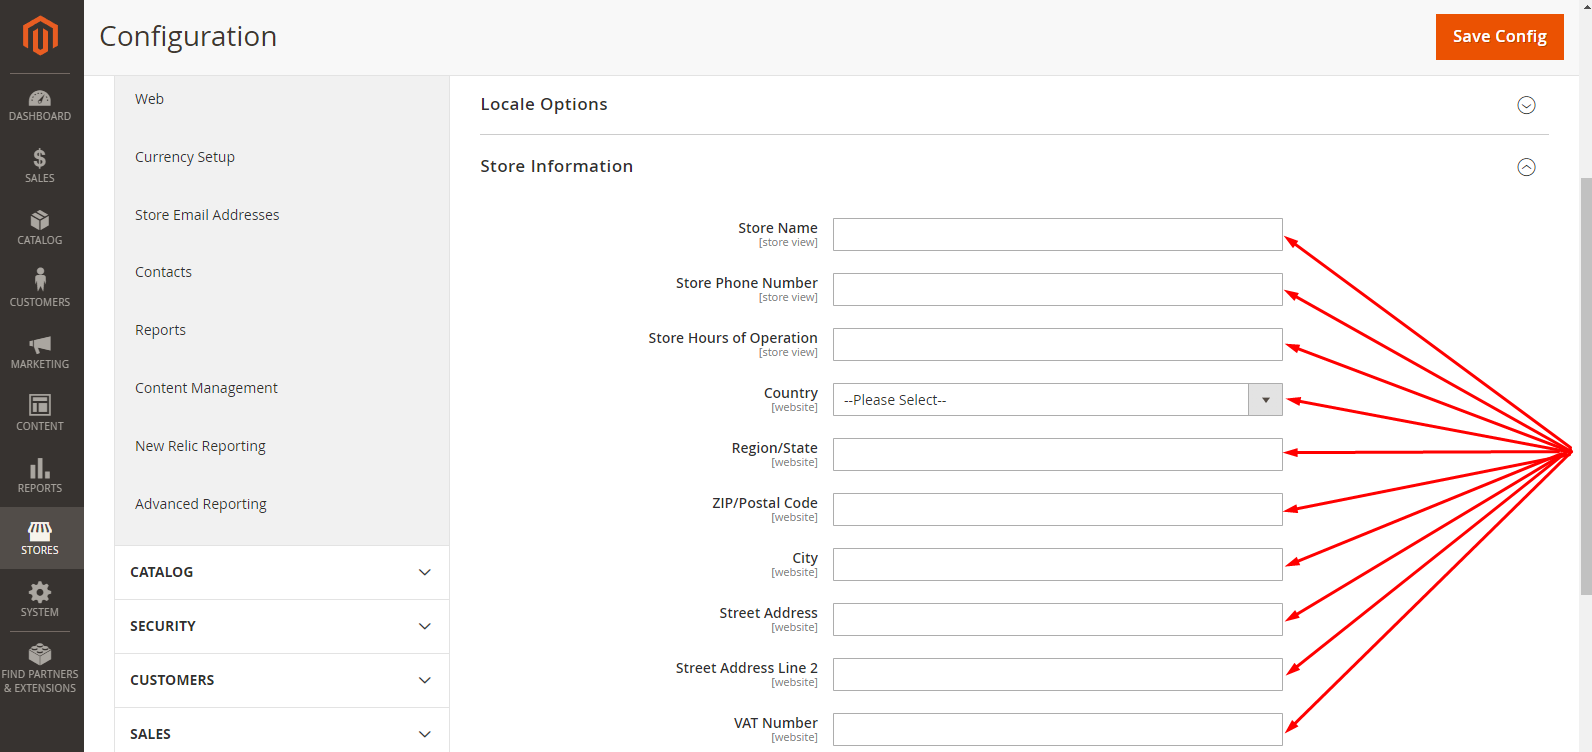
vi. Click “Save Config” to save the changes.
Single-Store Mode
Single-Store Mode is a feature in Magento 2 that simplifies management by disabling multi-store functionality. When enabled, it streamlines the admin interface and can enhance performance, making it ideal for stores with only one view. This mode is beneficial for optimizing performance but should be disabled if multiple languages or store views are needed.
2. Store URL
- Navigate to Stores > Configuration.
- Under General, click on “Web”.
- Expand the Base URLs section.
- Enter your store’s unsecure URL in the Base URL field (e.g., “http://abcshop.com/”).
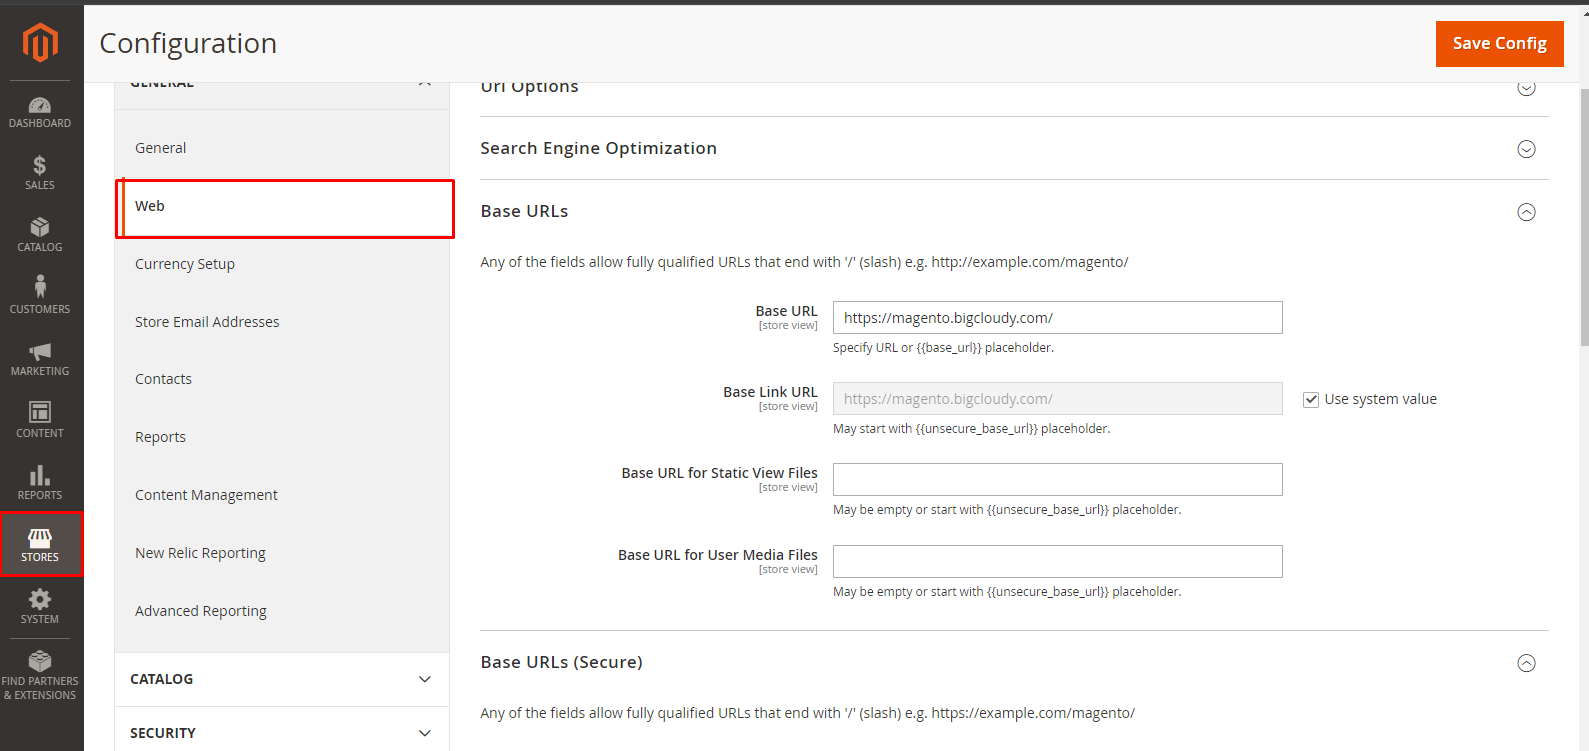
- Expand the Base URLs (Secure) section.
- Enter your store’s secure URL in the Secure Base URL field (e.g., “https://abcshop.com/”).
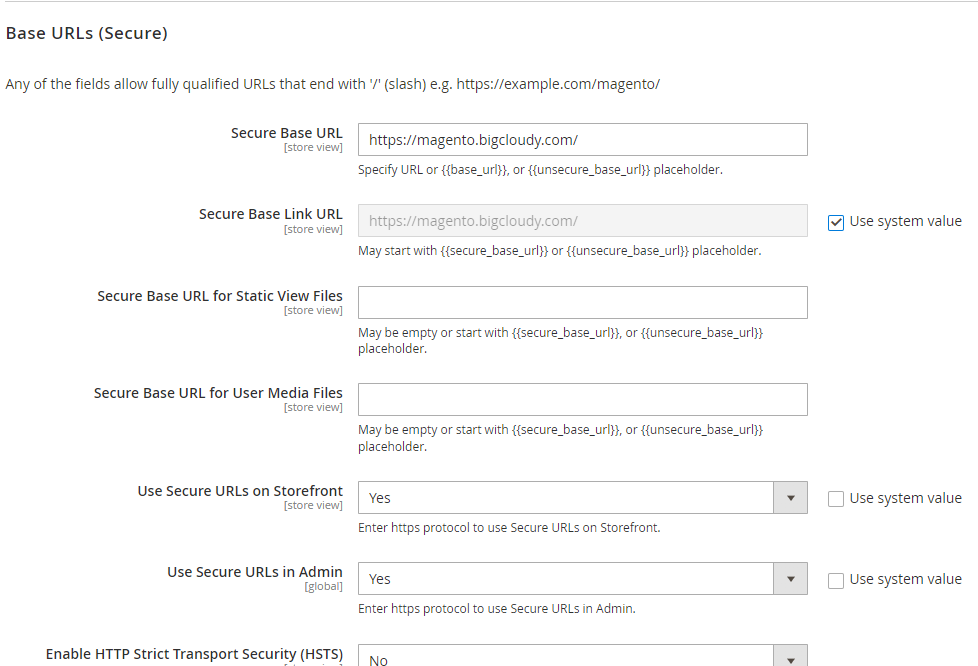
- Click “Save Config” to save the changes.
- Ensure that your custom domain name is correctly pointed to your Magento installation.
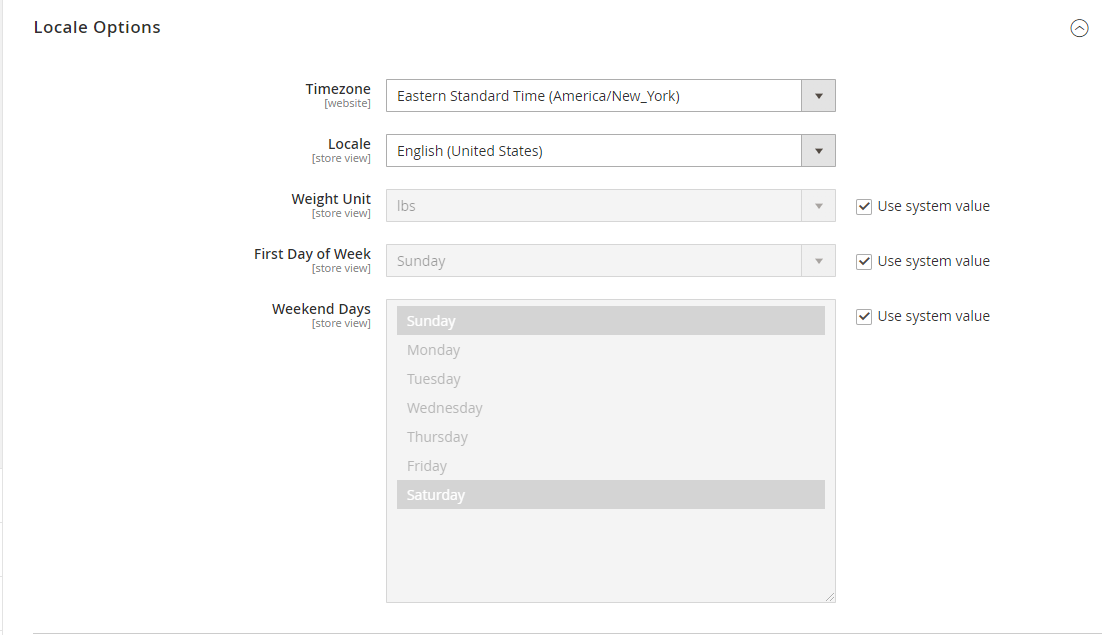
3. Timezone
- Navigate to Stores > Configuration.
- Under General, click “General”.
- Expand the Locale Options section.
- Select the appropriate Timezone from the dropdown menu.
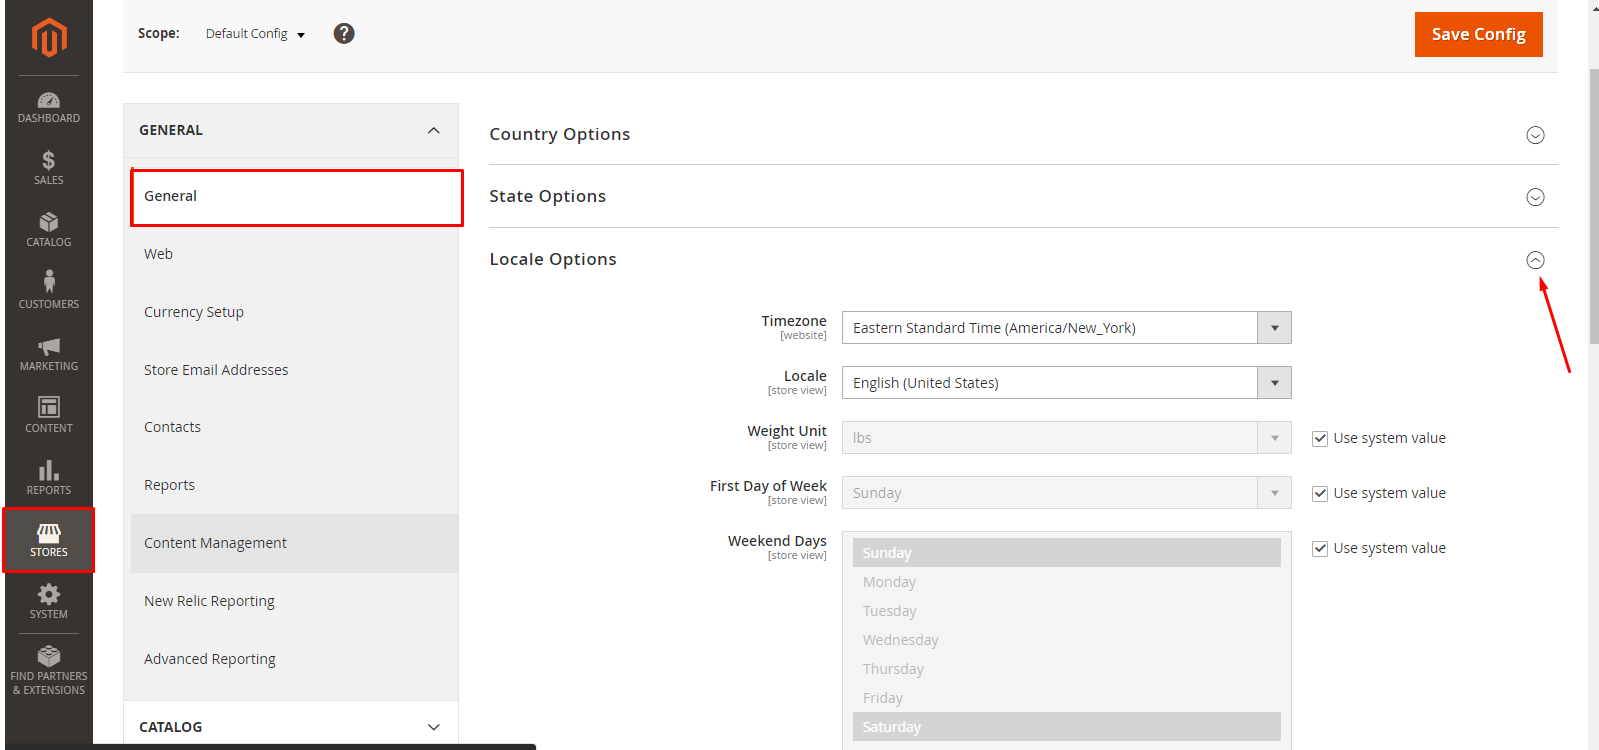
- Click “Save Config” to save the changes.
4. Configuring Currency Settings
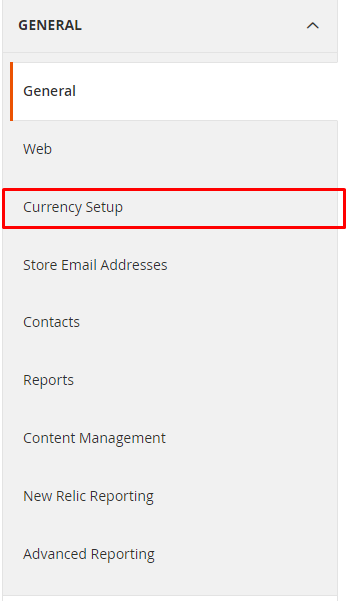
- Navigate to Stores > Configuration.
- Under General, click on “Currency Setup”.
- Set the Base Currency (the currency used for all transactions).
- Set the Default Display Currency (the currency displayed to customers by default).
- Set the Allowed Currencies (currencies customers can select from).
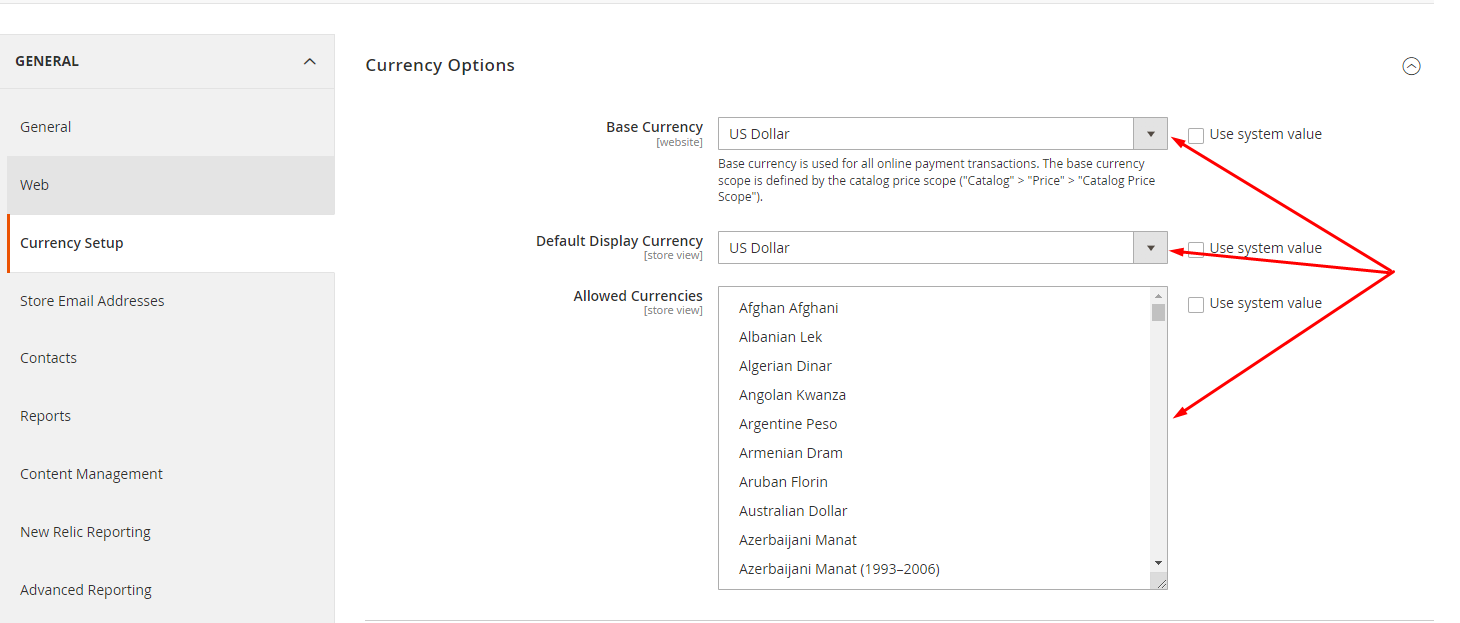
- Click “Save Config” to save the changes.
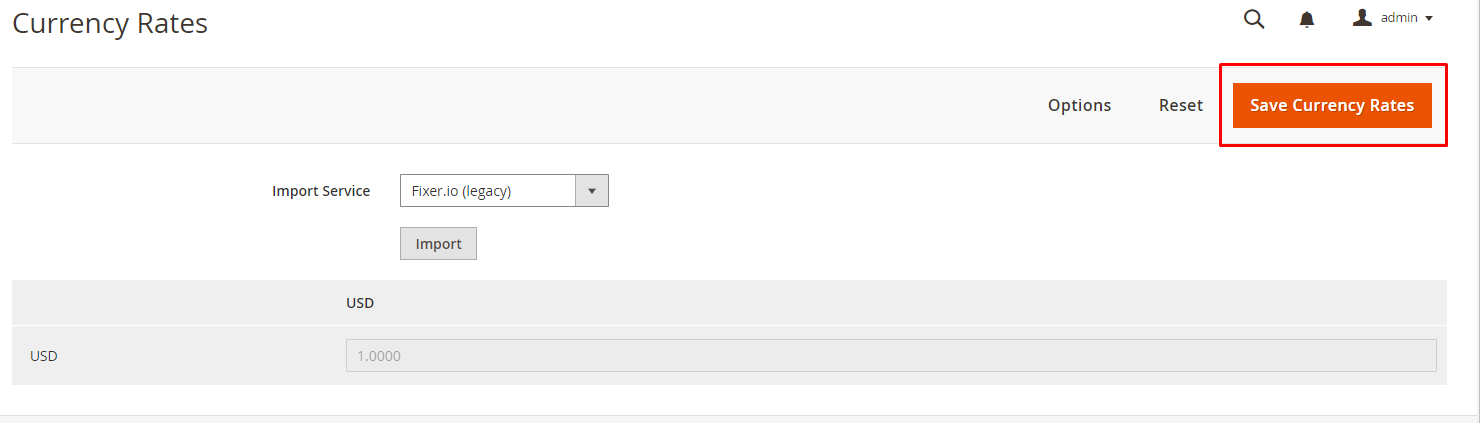
5. Update Currency Rates
- Go to Stores > Currency Rates.

- Click on Import to fetch current exchange rates from the configured service provider.
- Adjust rates if necessary and click “Save Currency Rates”.
4. Language Settings
- Navigate to Stores > Configuration.
- Under General, click on “Locale Options”.

- Select the desired Locale (language) from the dropdown menu.
- Click “Save Config” to save the changes.