It is necessary to set rate limit so that you can manage your outgoing mails and avoid surpassing the limitations set by the hosting provider. This guide provides you the detailed steps to set mail rate limit for email account in Hestia Control Panel.
Steps to Set Mail Rate Limit in Hestia for My Email Account
1. Login to the Hestia Control Panel.
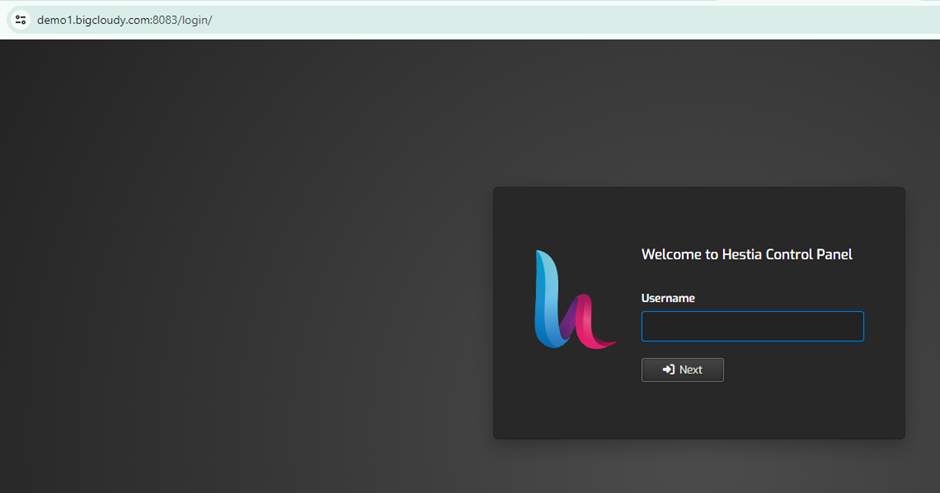
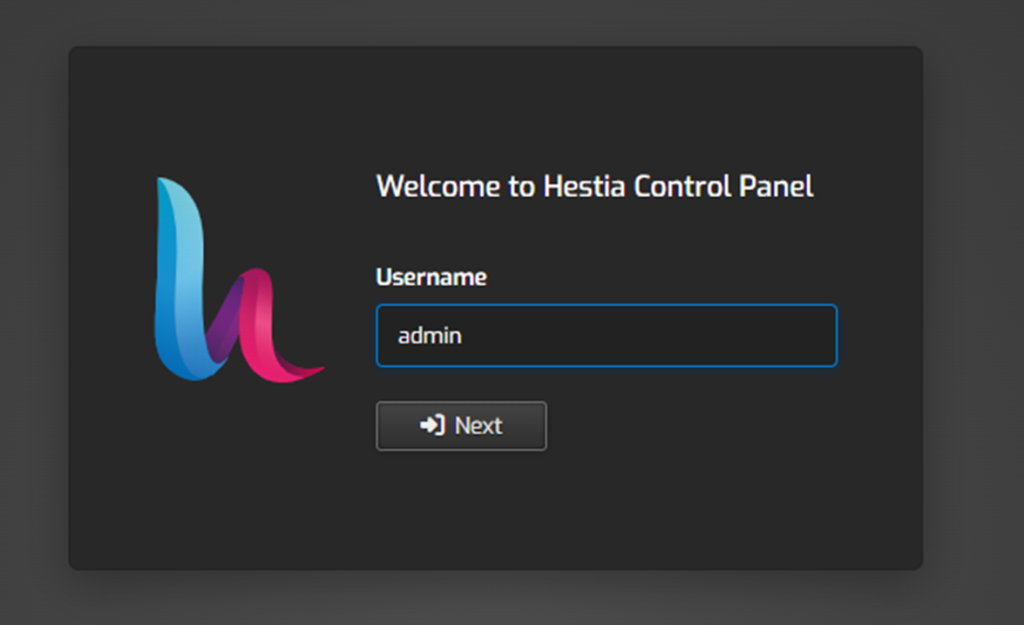
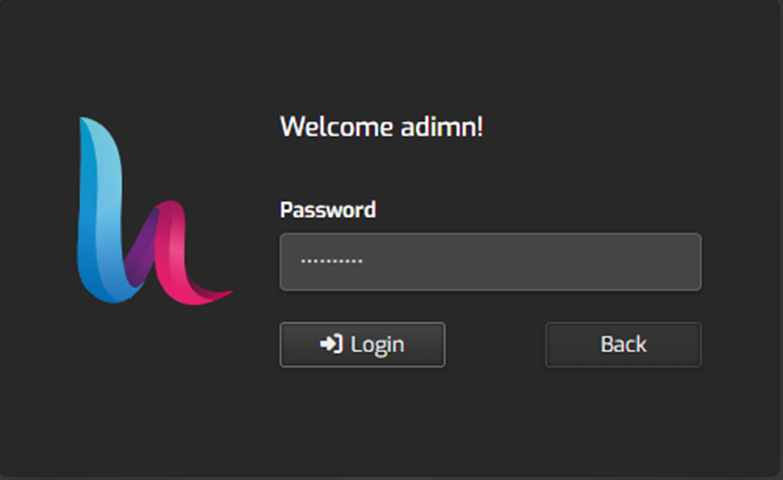
2. Enter your admin username and password, then click on the Login button.
3. Once logged in, click on the “Mail tab” located in the top menu.

4. Choose the domain associated with the email account for which you want to set the rate limit.

5. Find the “email account” you want to set the rate limit for.

6. Click on the “Edit button” (usually represented by a pencil icon) next to the email account.

7. In the email account settings, look for the “Mail Rate Limit” section or a similar option.
- Enter the desired rate limit for email account. This is typically the number of emails that can be sent per hour.
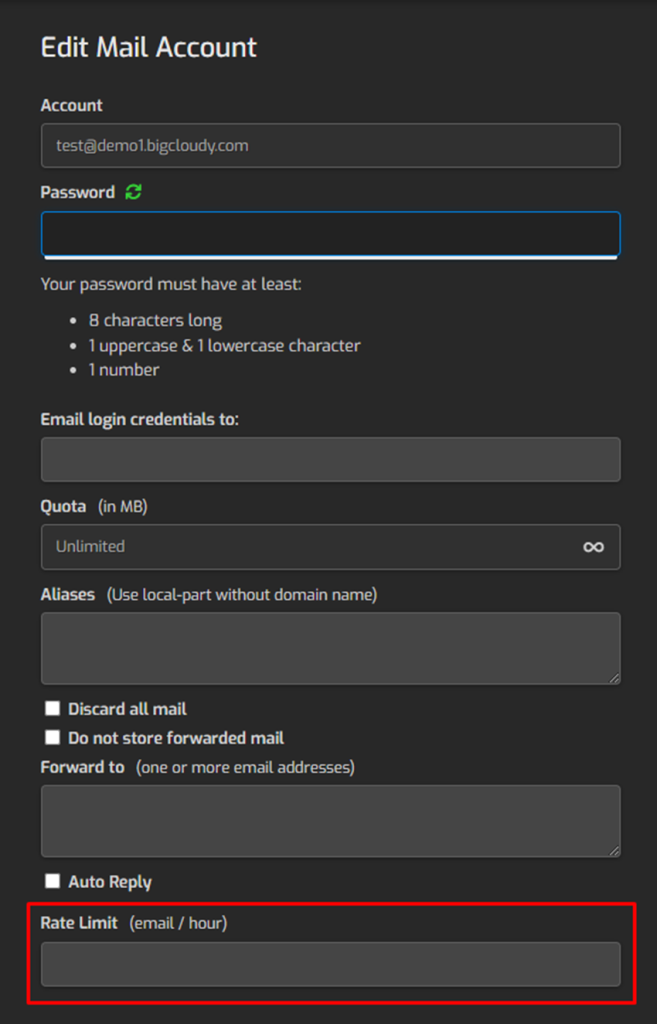
8. After setting the mail rate limit, click on the “Save” or “Update” button to apply the changes.

9. Confirm that the mail rate limit has been successfully applied by checking the email account settings.
Using the above steps, you can set a mail rate limit for your email account using HestiaCP.