This simple guide unlocks the power of special feature present in HestiaCP. Learn how to install application easily using Hestia Control Panel . It helps in simplifying the process and saves your time.
Steps to Install Applications Quickly using HestiaCP
1. Log into HestiaCP
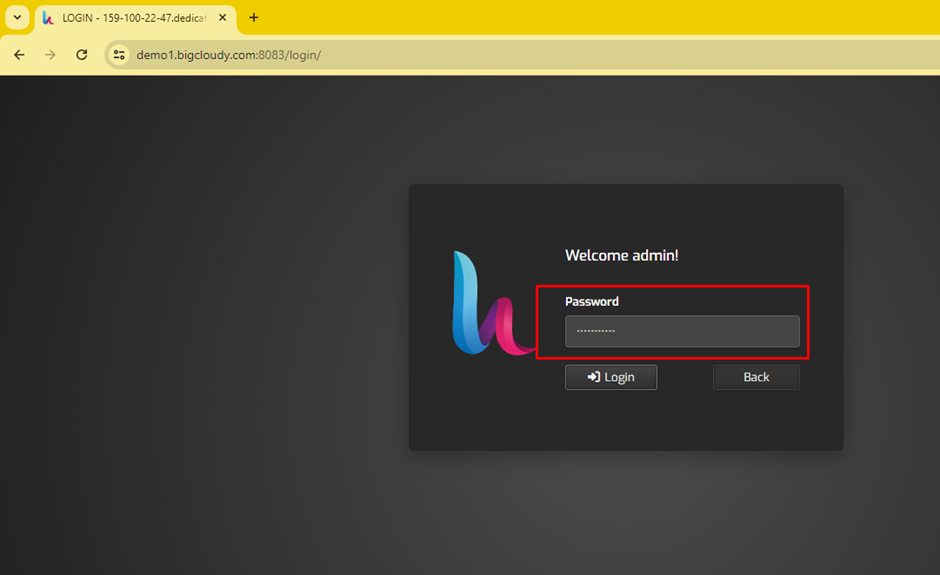
- Open your web browser and log into your “HestiaCP account” with your admin credentials.
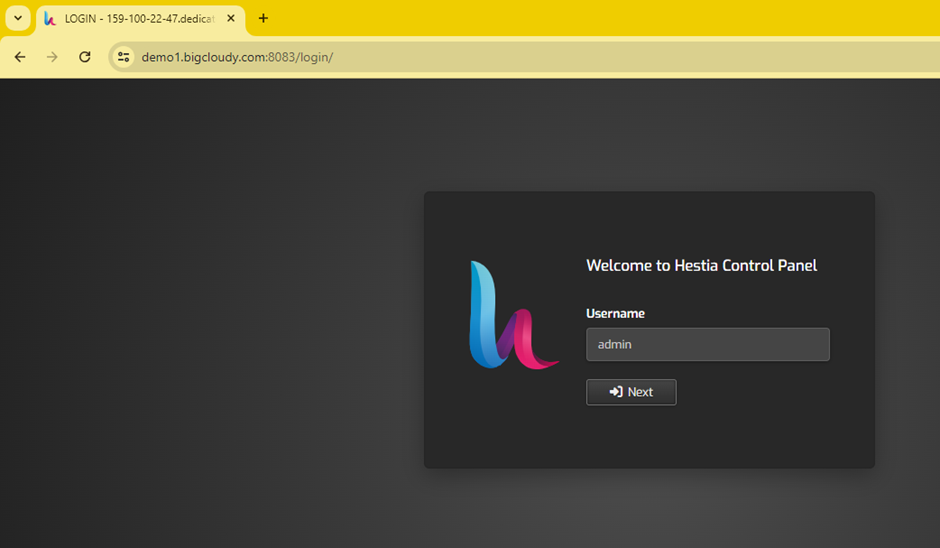
- Enter your username and password.
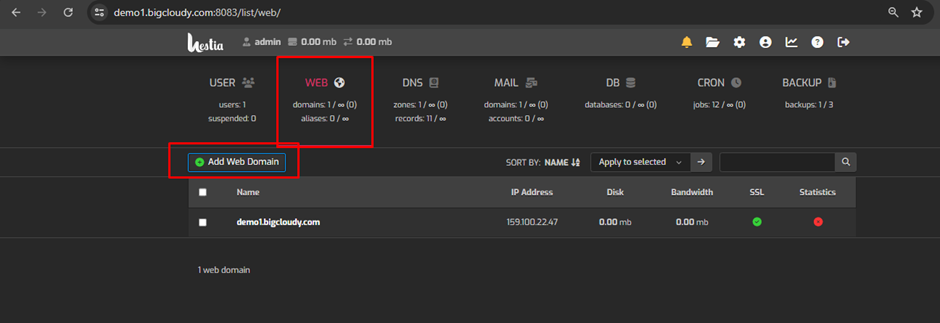
2. Add a New Domain
- Navigate to the “Web” section in the HestiaCP dashboard.
- Click on the “+ Add Web Domain” button.
- Enter your domain name and click “Save”.

3. Access the File Manager
- In the “Web” section, find the domain where you want to install the application.
- Click on the domain name to manage its settings.
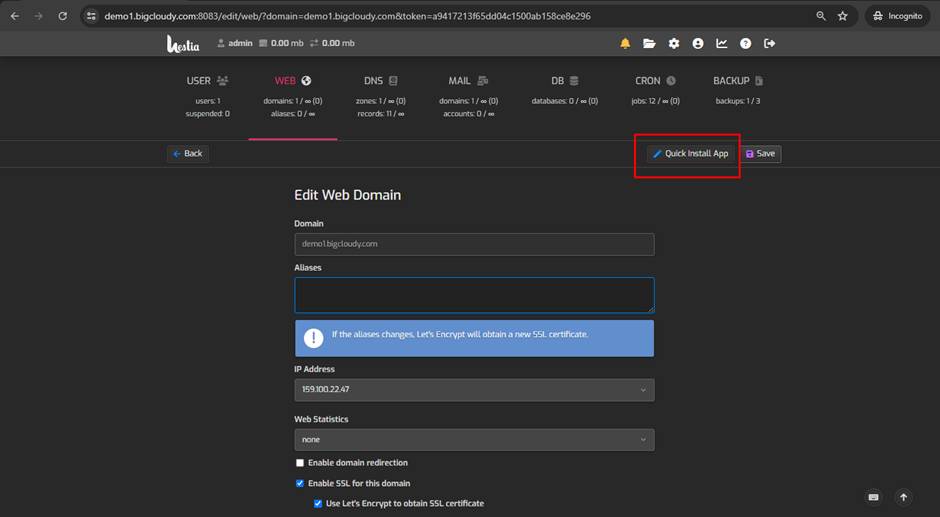
- Click on “setup” to install the Application.
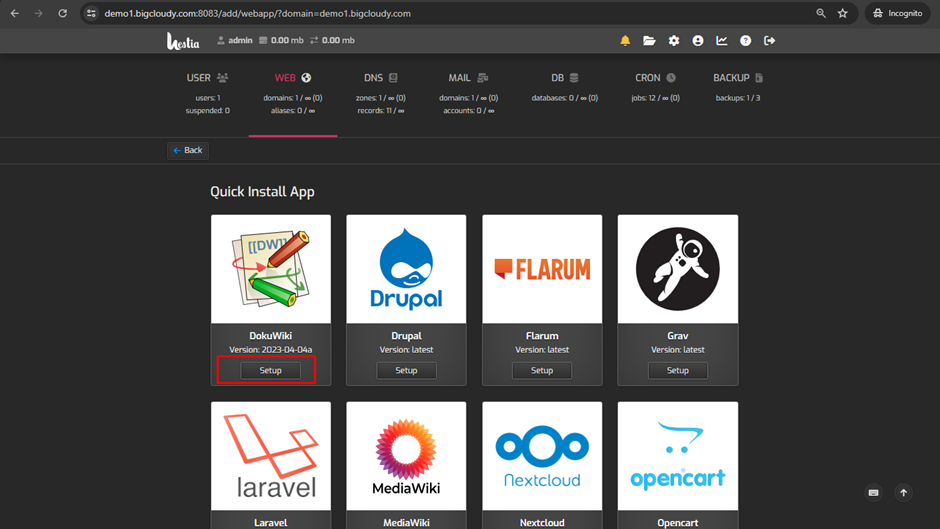
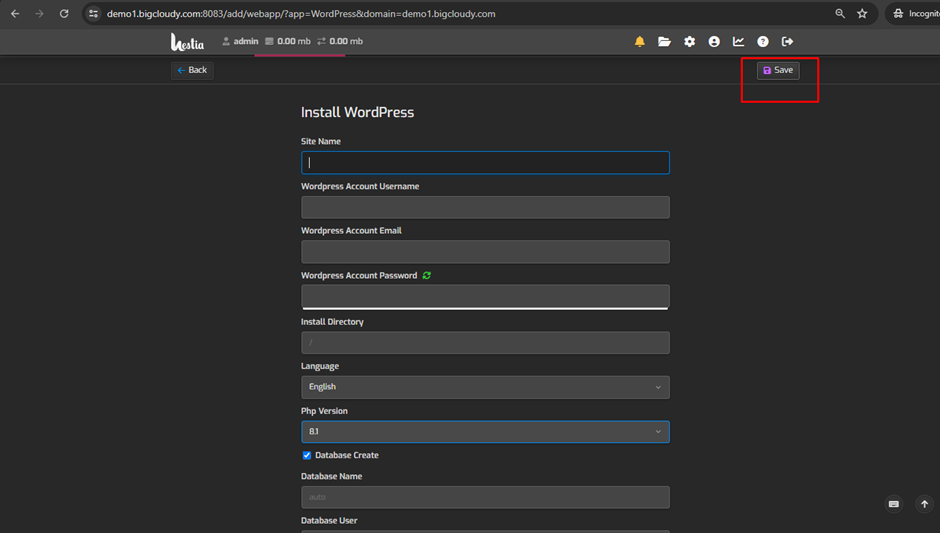
- Put all the information and click on save.
- Similarly, install a custom application then follow the below steps.
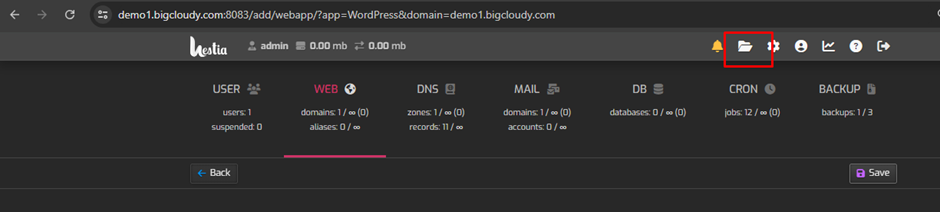
- Click on “File Manager” to open the file manager for that domain
4. Download and Upload the Application
- Download the application package from the official website.
- Upload the package to the root directory of your website (e.g., /home/username/web/domain.com/public_html).
5. Extract the Application Files
Once the package is uploaded, extract the files. This can usually be done directly in the file manager by selecting the uploaded archive and choosing the “Extract” option.
6. Create a Database (if needed)
- Navigate to the “Databases” section in the HestiaCP dashboard.
- Click on the “+ Add Database” button.
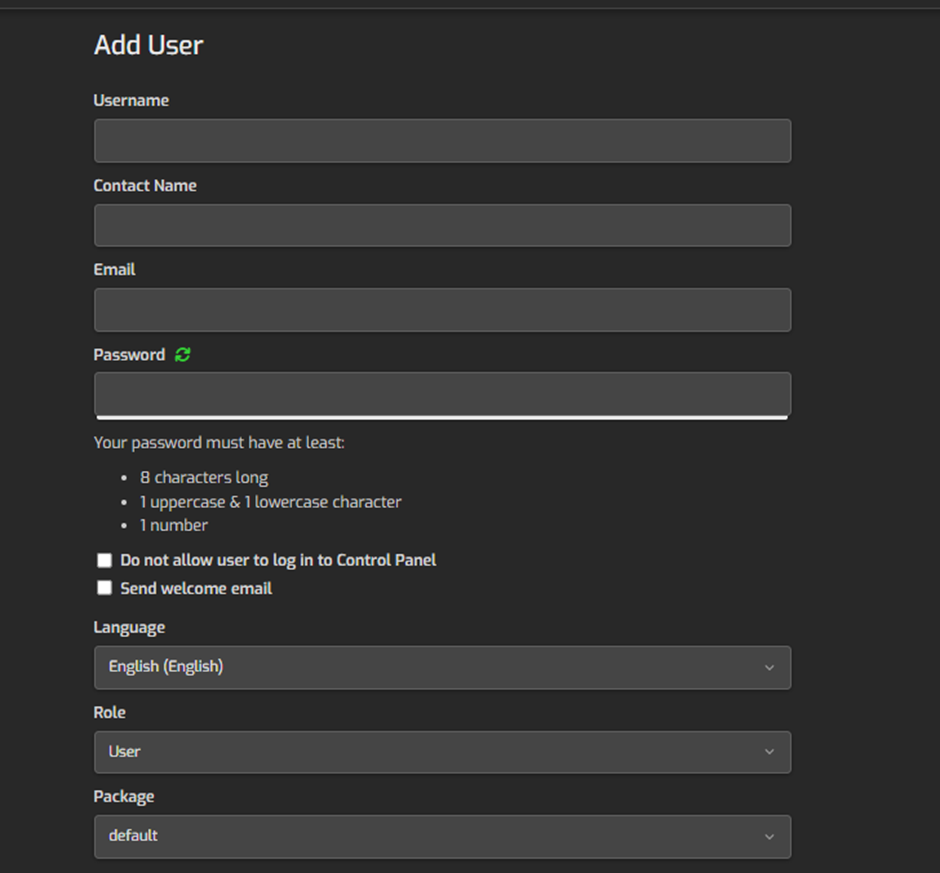
- Fill in the database name, username, and password.
- Click “Save” to create the database.
7. Configure the Application
- Open your “web browser” and navigate to your domain (e.g., http://yourdomain.com).
- Follow the “installation wizard” for the application you are installing
- Now enter the “details of database” which you have created in the previous step.
- Complete the “configuration settings” as per the application’s requirements.