To enhance mail deliverability of your emails in Hestia Control Panel then this guide explores on how to enable DKIM/SMTP Relay in Hestia control panel. DKIM makes sure your emails aren’t considered as spam and SMTP relay helps you in sending emails through external sources.
Steps to Enable DKIM/SMTP Relay in Hestia CP
1. Log in to your “HestiaCP account” using your credentials.
2. Find this “Mail” section option in the HestiaCP dashboard and click on it.
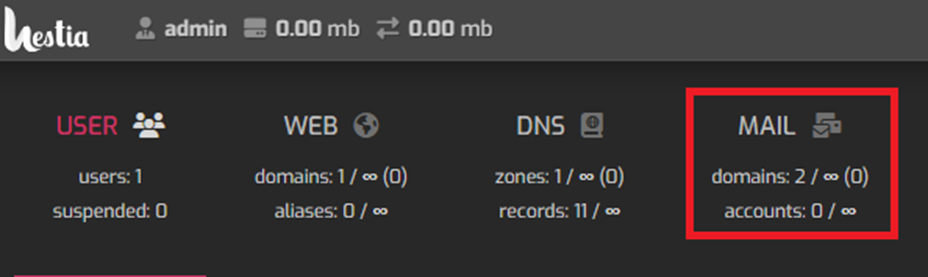
3. Then in the Mail section, check the list of domains which are configured on your server. Click on the “domain” for which you wish to enable DKIM and SMTP Relay.

4. Click on “Edit Mail Domain” to access the option to enable DKIM and SMTP Relay

5. On the next page, locate options related to DKIM and SMTP Relay.
5.1. Check the box to enable DKIM support for email authentication.
5.2. Check the box to enable and configure SMTP Relay by providing the required details:
- Host: Type your SMTP server hostname or IP address.
- Port: For SMTP communication purpose please specify the port number (commonly 25, 587, or 465).
- Username: Give your username of your domain for SMTP authentication (if required).5.2.4.
- Password: Enter the password associated with the SMTP username.
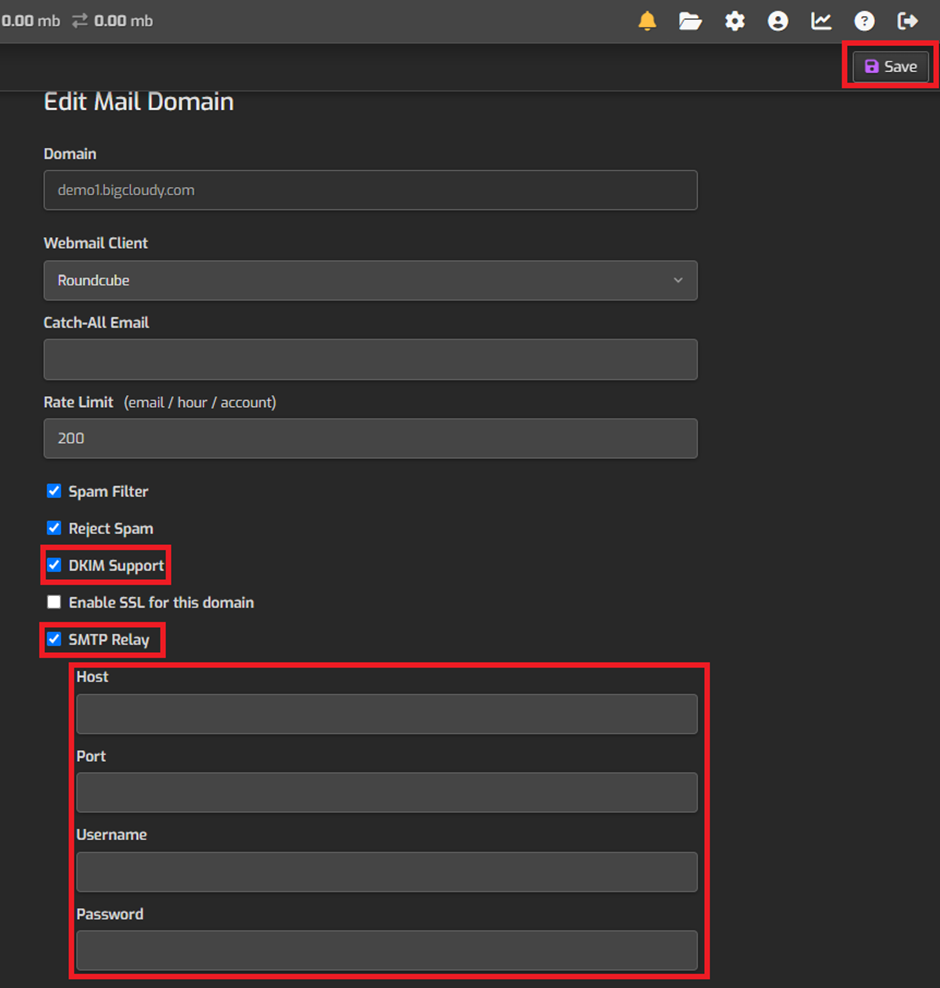
6. After filling up the details , click on the “Save” button.
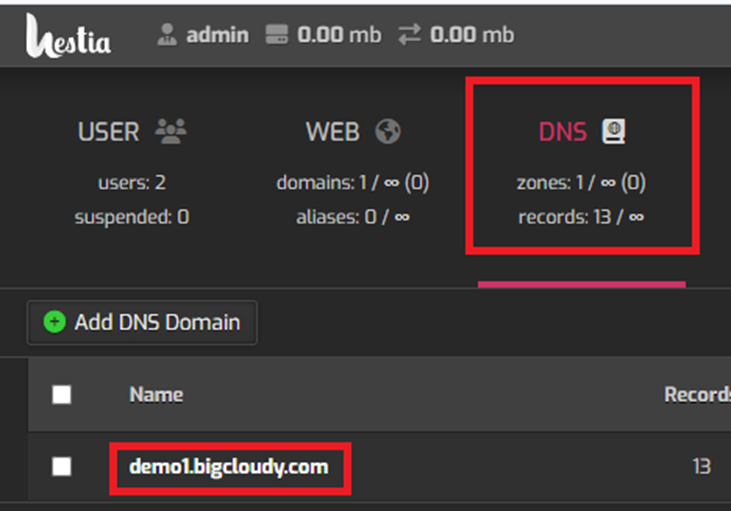
7. For verification of the DNS records for your domain, click on the “DNS” section in the HestiaCP dashboard and DKIM record has added correctly.

Finally, you have successfully enabled DKIM (Domain Keys Identified Mail) for email authentication purpose and configured SMTP Relay to relay outbound emails through a chosen SMTP server in the Hestia Control Panel.