This guide helps you in Enabling disk quota in the Hestia Control Panel for users and it involves several steps to ensure that each user on your server has allocated storage limits.
Steps to Enable Disk Quota for Users in Hestia CP
1. Log in to the Hestia Control Panel.
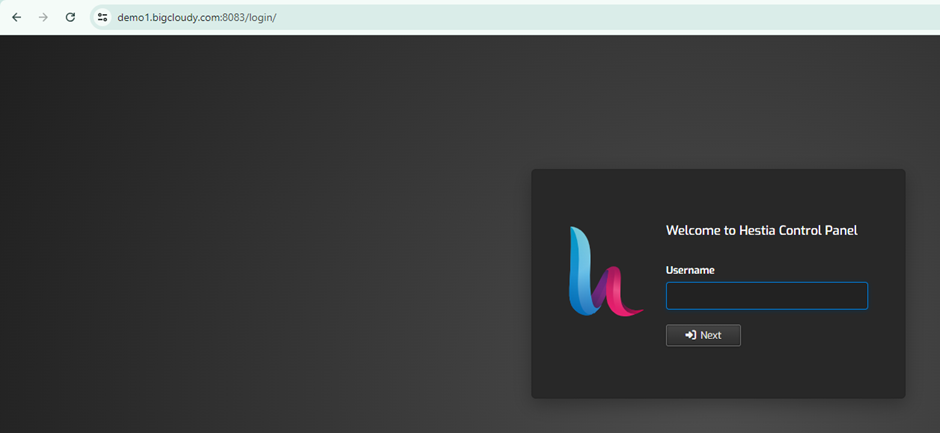
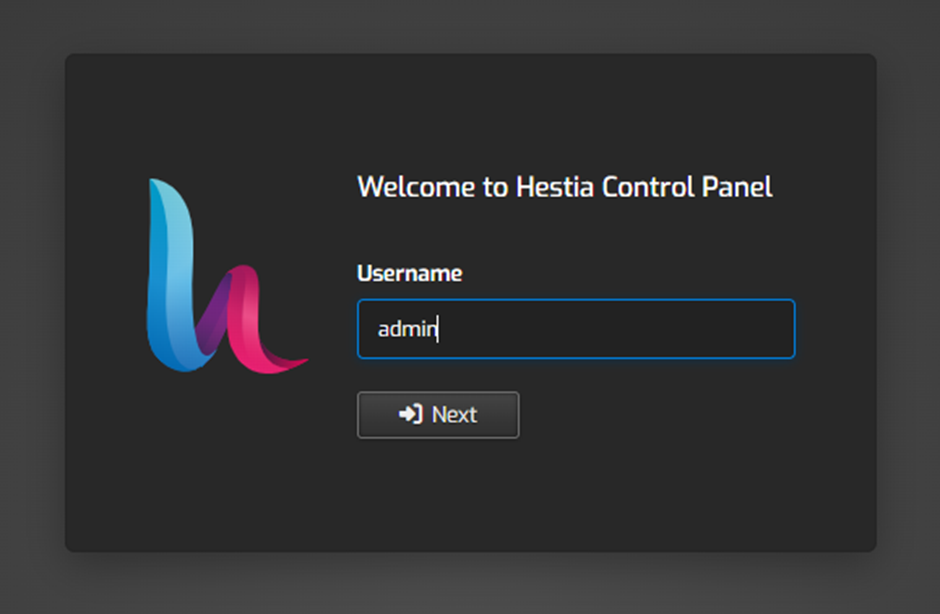
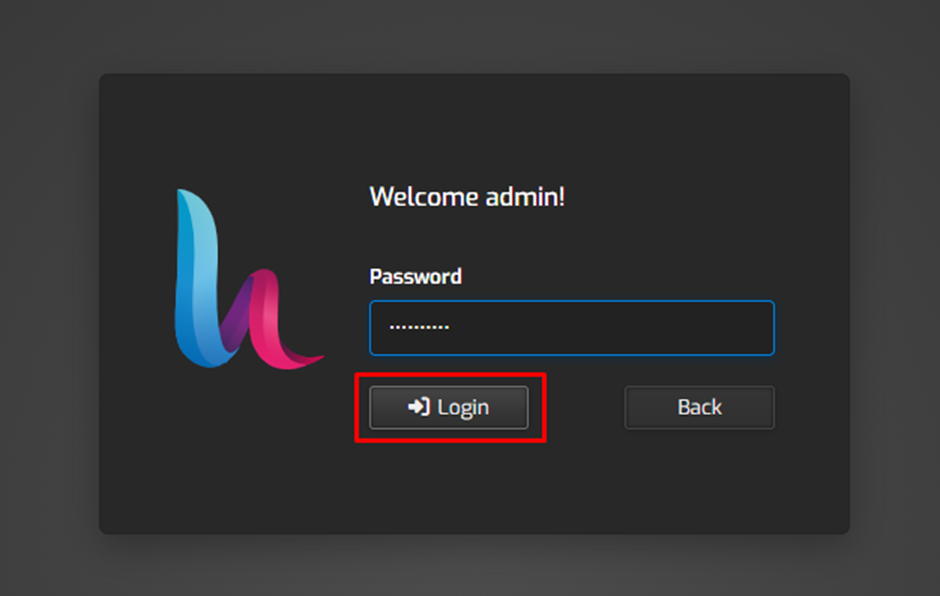
2. Enter your login details like username and password, then click on the “Login” button.
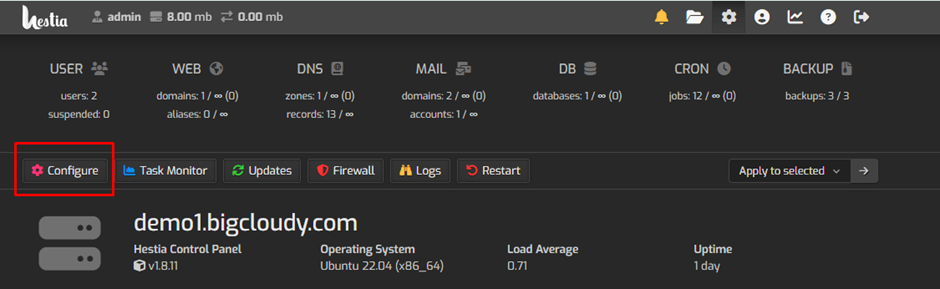
3. Click on the “Setting” option at the top.

4. Once you’re in, click on the “Configure” option.
5. Once you’re in, you can see the “Plugin” option there; click on that.
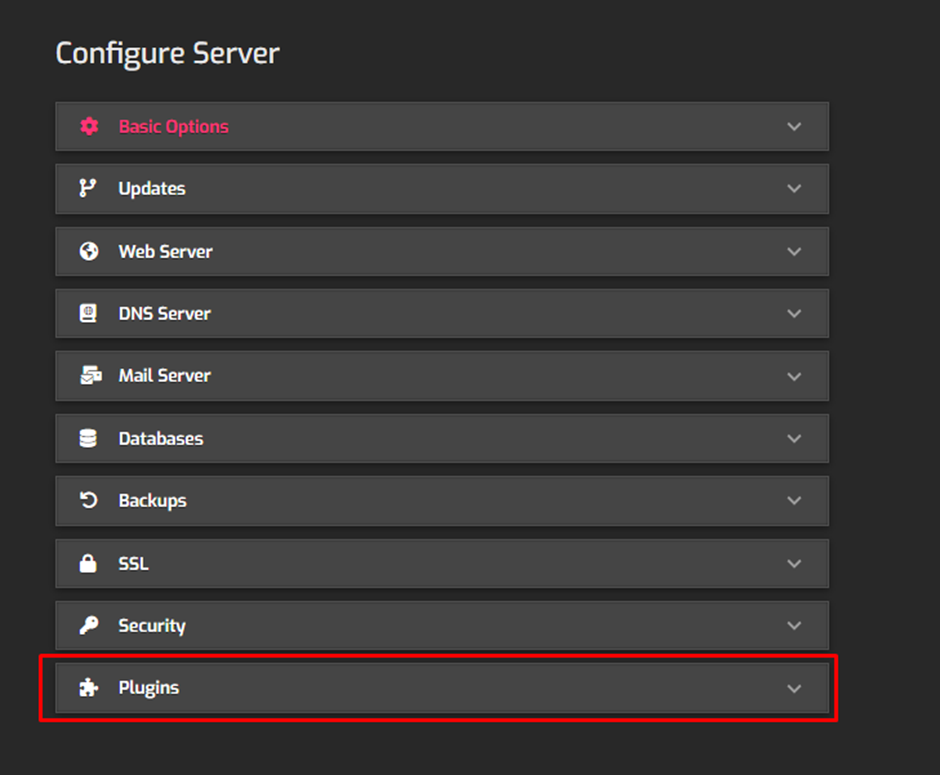
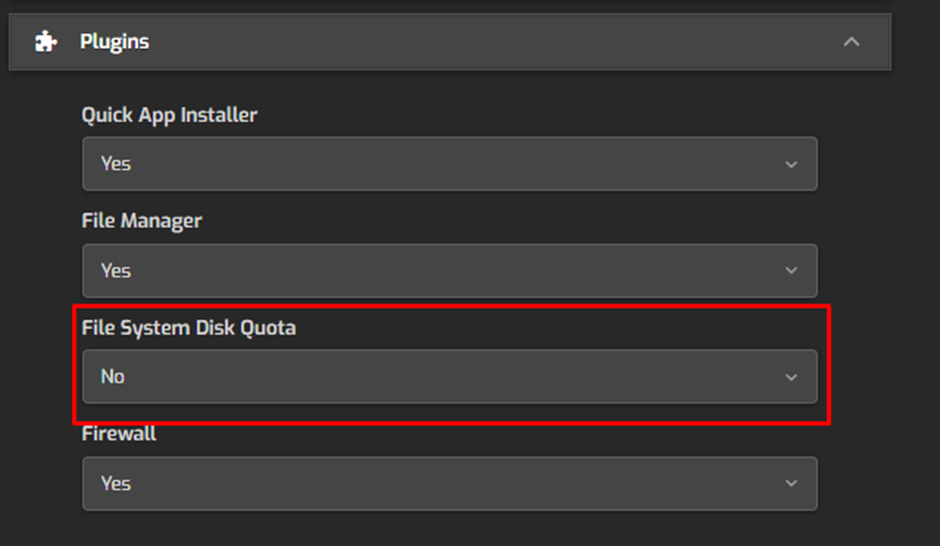
6. You’ll see these four options there. You need to scroll down to find the “File System Disk Quota” option.
7. Once you locate that option, simply select “Yes” to enable disk quotas for your file manager using the Hestia Control Panel.
Using the above steps, you can Enable Disk Quota for Users in HestiaCP.