Managing your emails can be a very simple task. Just follow this step-by-step guide to create and add mail domains for your website quickly in Hestia Control Panel.
Steps to Add Mail Domains in Hestia Control Panel
1. Log into HestiaCP
Open your web browser and log into your “HestiaCP account” using your admin credentials.
2. Navigate to the Mail Section
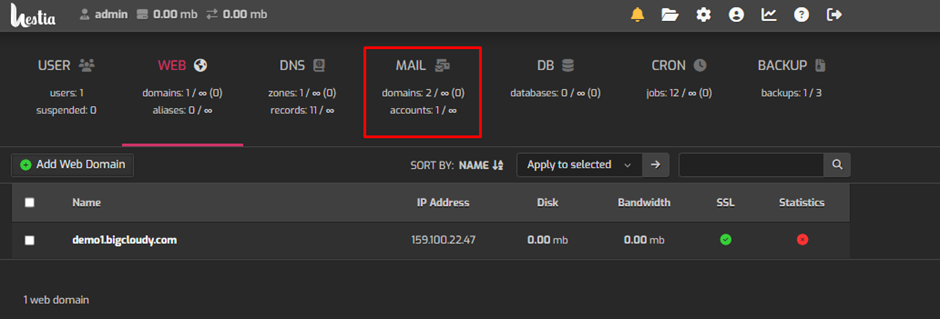
Once logged in, go to the “Mail” tab in the HestiaCP dashboard.
3. Add a New Mail Domain
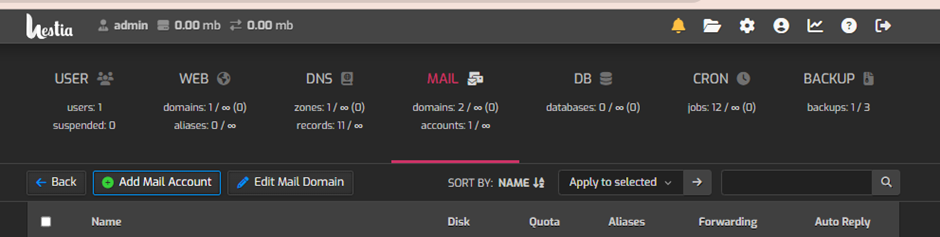
- Click on the “+ Add Mail Domain” button.
- Enter the “domain name” you want to add for mail services.
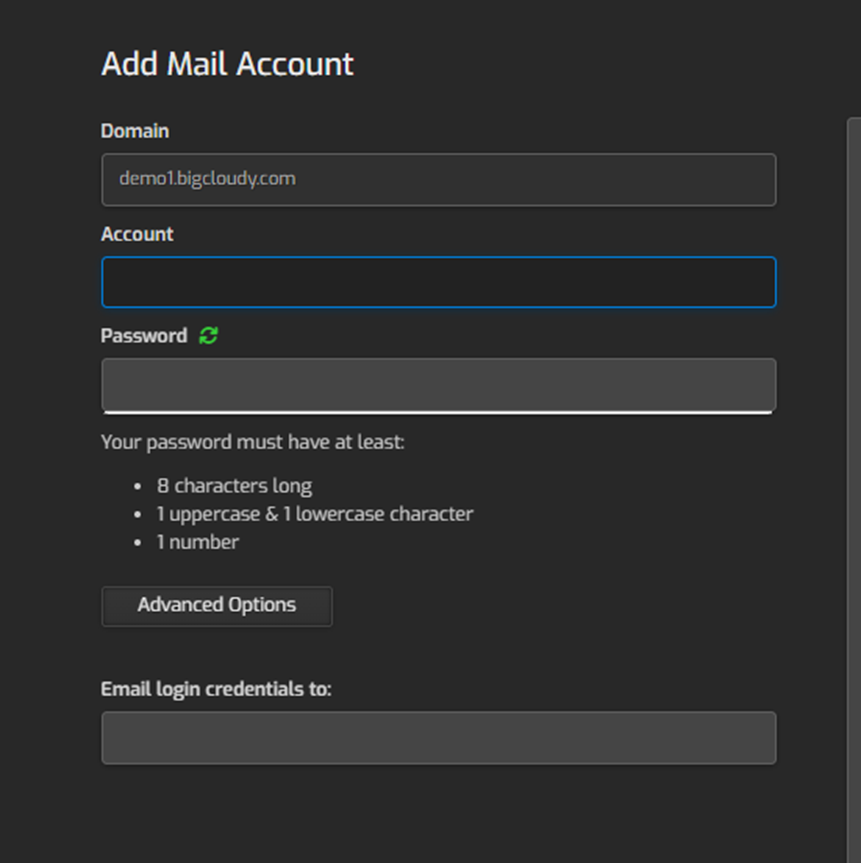
- Check the “Enable DKIM” option if you want to use DKIM for email validation (recommended for better email deliverability).
- Click “Save” to add the mail domain.
Now you have successfully added mail domains for your website in Hestia Control Panel.