This step-by-step guide shows you how to add and delete database user in Hestia and manage your database efficiently by accessing or restricting specific databases users easily in few minutes.
Steps to Add/Delete Database User in Hestia
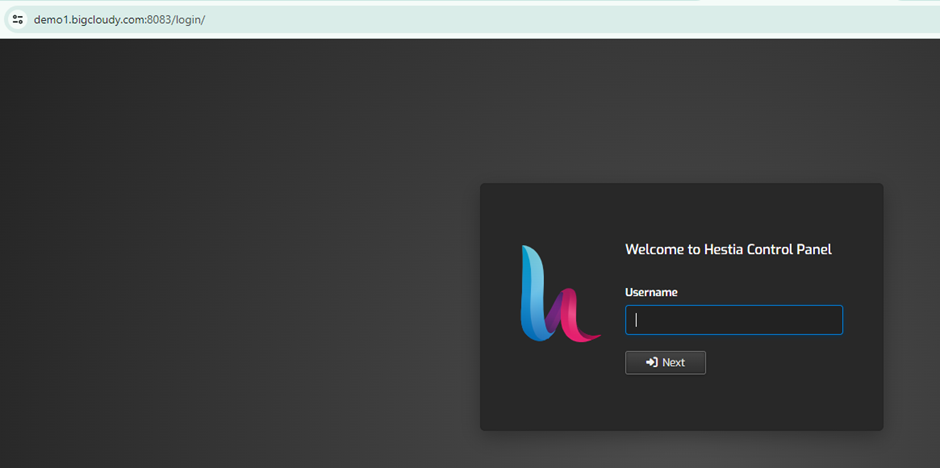
1) Login to the Hestia Control Panel.
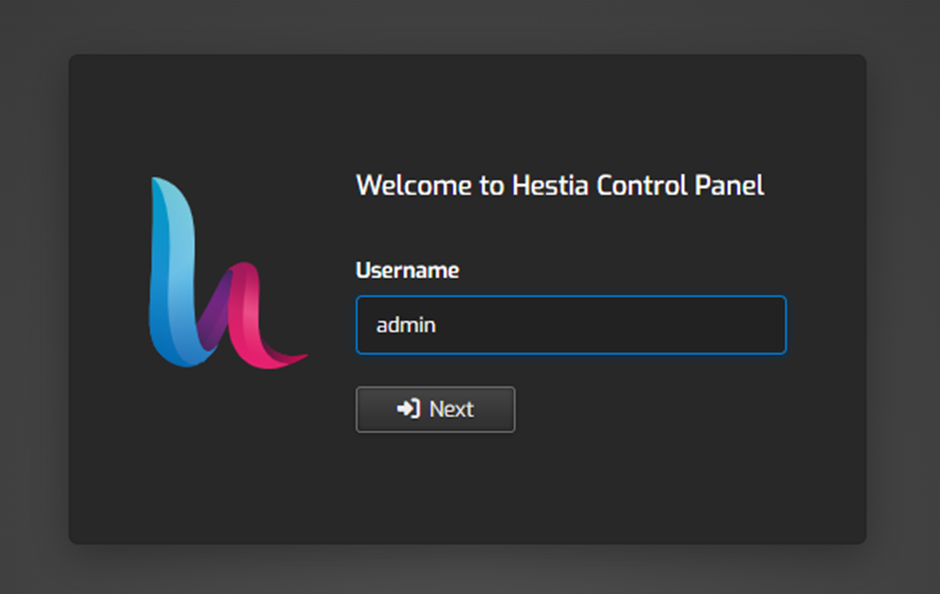
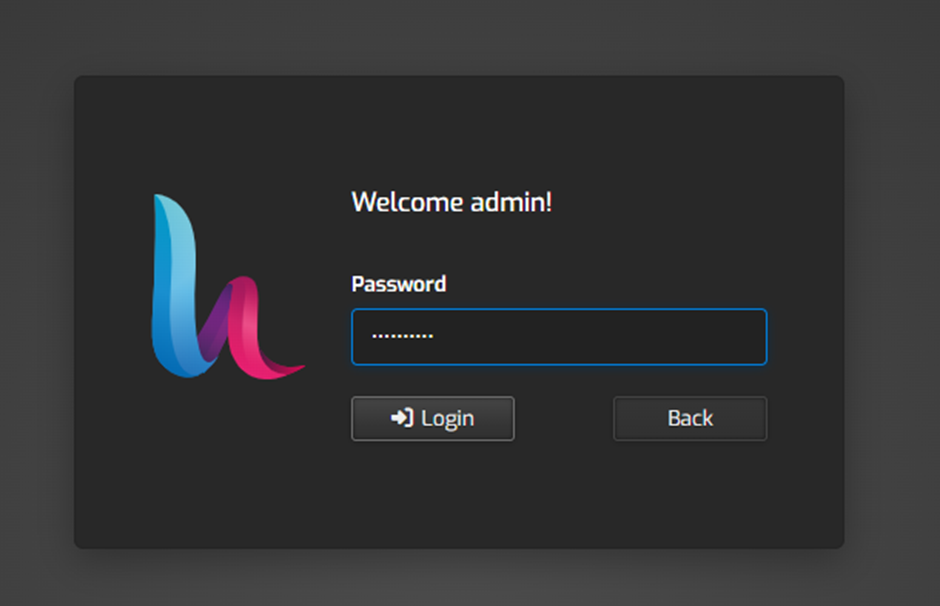
2) Enter your admin username and password, then click on the Login button.
3) Once logged in, click on the Databases tab located in the top menu.

4) Click on the Add Database button usually found on the right-hand side or in the top menu.

5) Fill Out Database Information.
- Database Name: Enter a unique name for the new database.
- Username: Enter a username for the new database user.
- Password: Enter a strong password for the database user.
- Type: Select the database type (e.g., MySQL, PostgreSQL).
- Host: Select the host for the database.
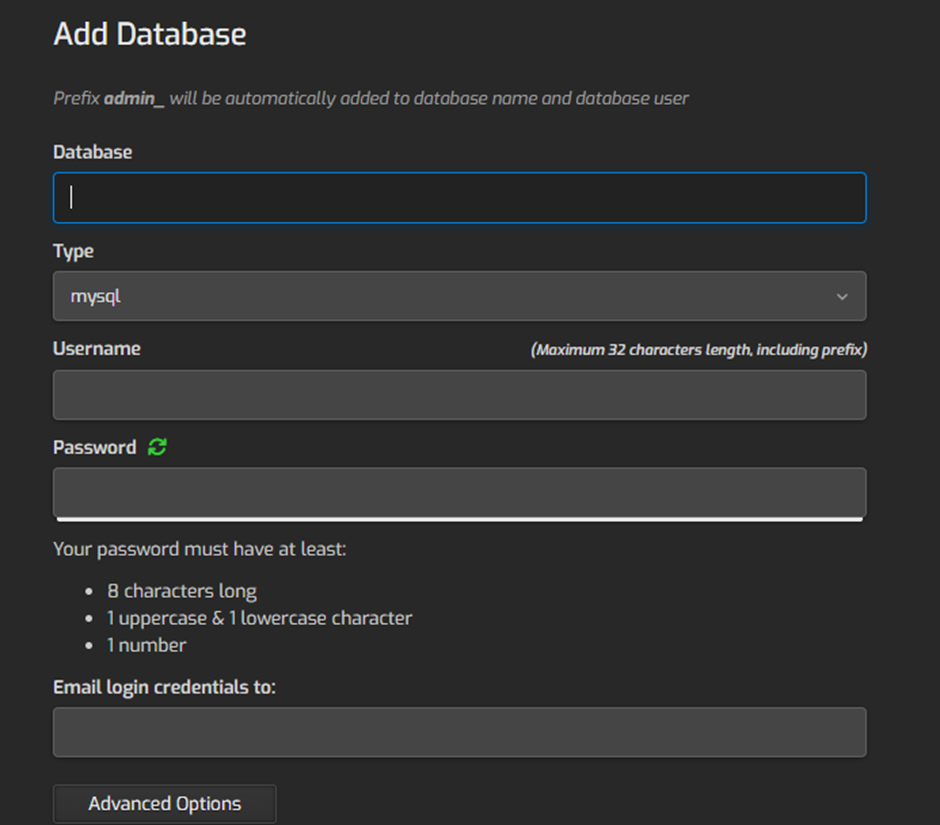
6) After filling out the required information, click on the “Save” or “Add” button to create the new database and user.

Steps to Delete a Database User in the Hestia Control Panel
- For instructions on the First 4 steps, please refer to the first and second steps above
1) Login to the Hestia Control Panel.
2) Enter your admin username and password, then click on the Login button.
3) Once logged in, click on the Databases tab located in the top menu.
4) Find the database associated with the user you want to delete.
5) Select the database user and click on the drag-and-drop option; you will see the delete option there.
- Once you select the delete option, click on the arrow to delete the selected database’s user


Using the above steps, you can create and delete database users in the Hestia Control Panel.