When you Enable HSTS Policy (HTTP Strict Transport Security) for your website in HestiaCP, it enhances security and ensures that browsers will only interact with your site over HTTPS. Here’s how you can enable HSTS Policy in HestiaCP:
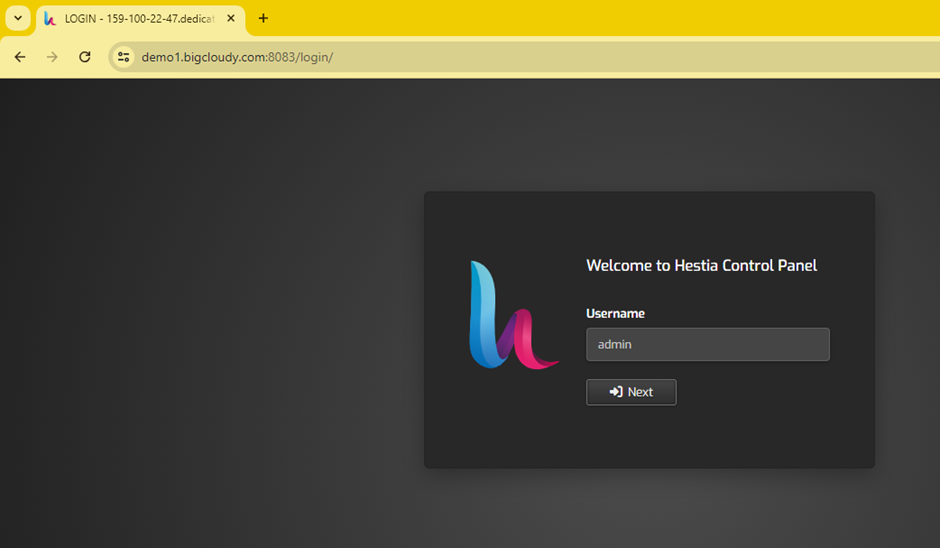
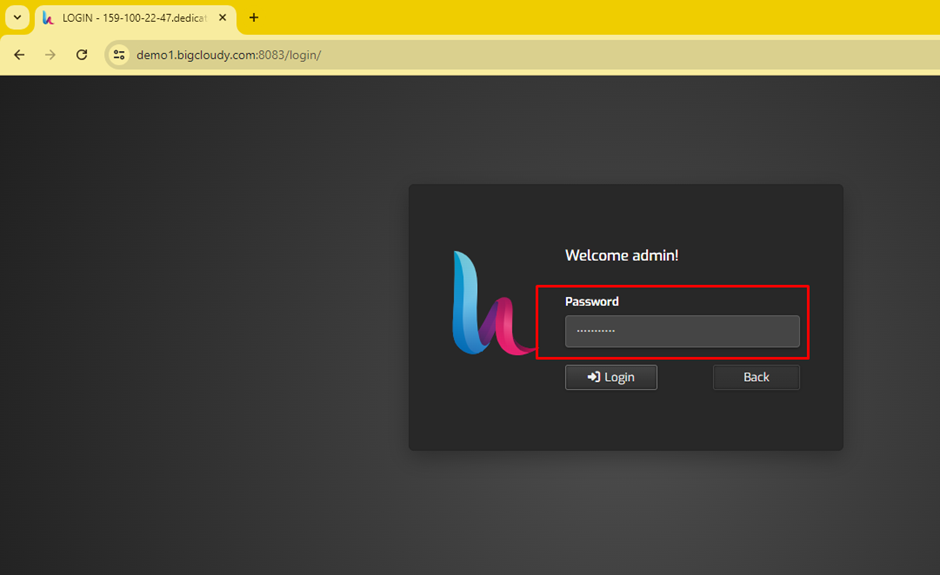
1. Log into your HestiaCP Account.
Open your web browser and log into your “HestiaCP account” with admin credentials.
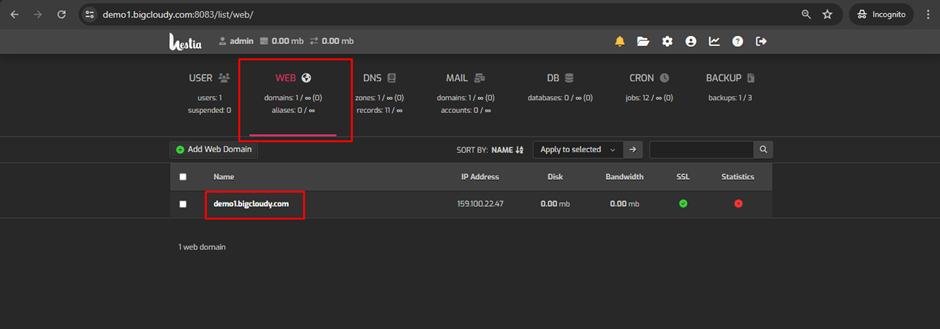
2. Select Your Domain
- Navigate to the “Web” section in the HestiaCP dashboard.
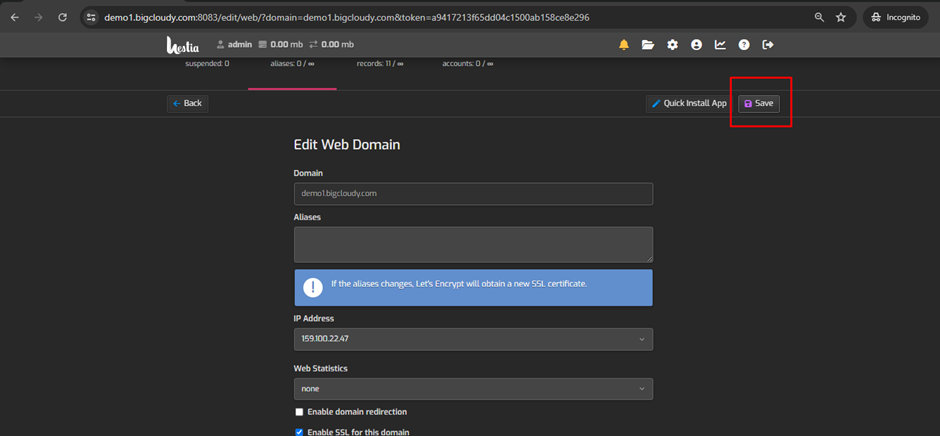
- Find the domain you want to “set up HSTS” for and click on it to manage the settings.

- Save the Changes by clicking the “save button”.
You have successfully enabled the HSTS Policy for your website and ensure high-level security for your users.