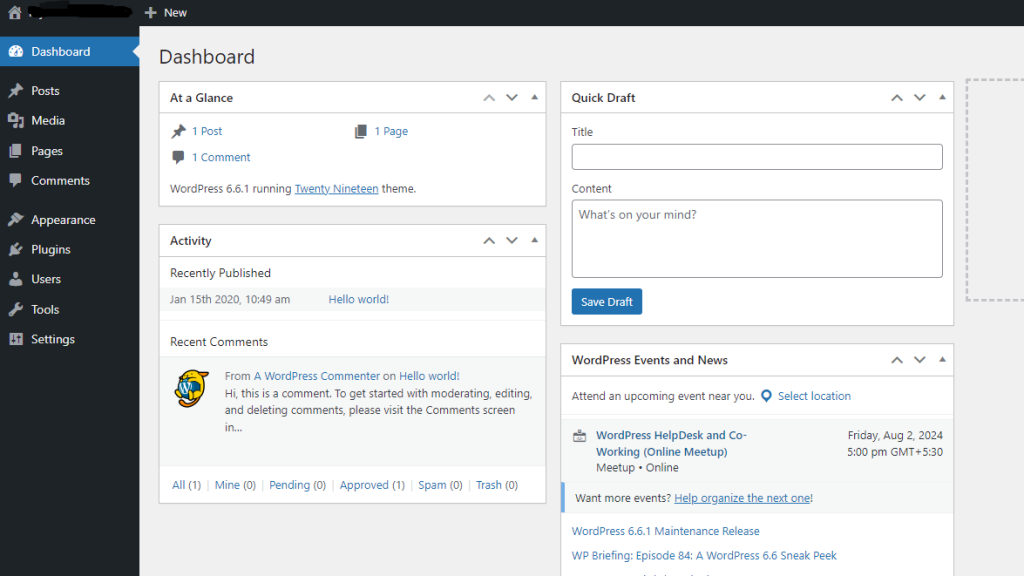
Follow the detailed procedure of this article to access WordPress Dashboard of your website and get logged in to start customizing your website’s content, design and settings to start your WordPress journey now.
Steps to Access WordPress Dashboard
To access the WordPress dashboard, follow these steps:
1. Go to Web Browser
Firstly, open the web browser according to your choice it may be Google Chrome, Mozilla Firefox, Safari, etc.
2. Enter Your Website URL
In the address bar of the web browser, type the URL of your WordPress website. For example, if your website is “www.abcshop.com,” then enter “www.abcshop.com” in the address bar.
3. Add “/wp-admin” to the URL
After entering your website URL, add “/wp-admin” to the end of it. It should look like this: www.abcshop.com/wp-admin.
4. Press Enter
Hit the “Enter” key on your keyboard, or click the “Go” button in the browser’s address bar.
5. Login Page

It will redirect to the WordPress login page, where you need to enter your WordPress username and password.
- Enter Your Credentials
Enter the username and password associated with your WordPress account. These are the login credentials you provided during the WordPress installation or were given by the website administrator.
- Click on Log Button
Click on “Log In” button after filling up all your login details.
- WordPress Dashboard

After successful login, you will be redirected to the WordPress dashboard in a few moments. This is the admin area of your website, where you can manage your website backend.
If you have not installed WordPress yet or are having trouble accessing the dashboard, you may need to consult with BigCloudy support or website administrator for assistance.

