Adjusting your server’s time zone can be done easily using Hestia control panel. Ensure that your time zone set for your server is correct because it ensures accurate timestamps for logs, tasks and server operation. Follow this guide to change the time zone on your server in few minutes.
Steps to Change the Time Zone on Server in Hestia
1. Log in to your HestiaCP account using your login details.
2. Check and click on the “Server Settings” section in the Hestia control panel dashboard.

3. After that look for “Configure” option in the Server section and click on it.

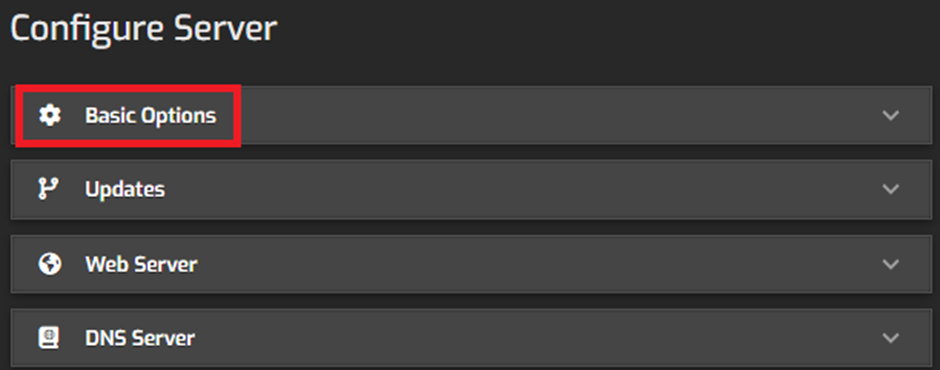
4. You will find a list of Basic options on “Configure Server” click on it to view.
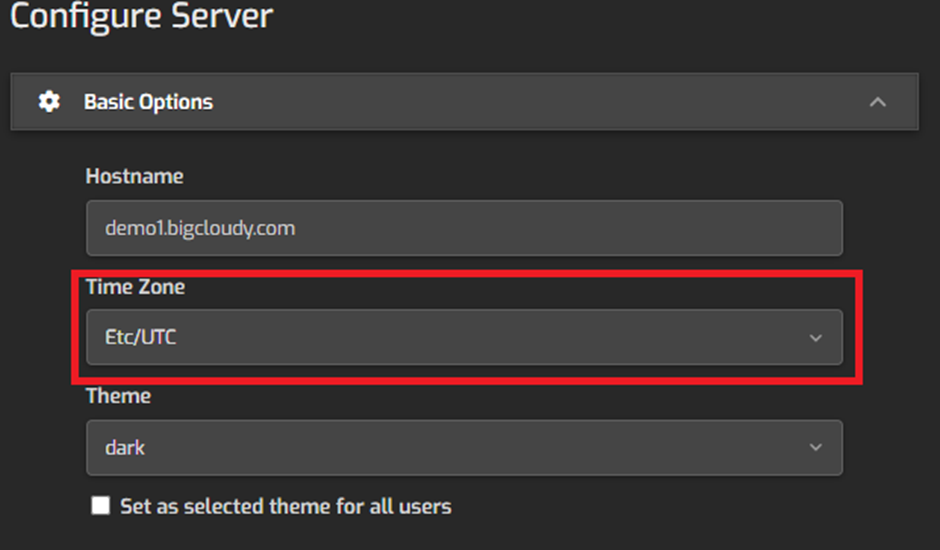
5. In the Basic Options, find the “Time Zone” option.
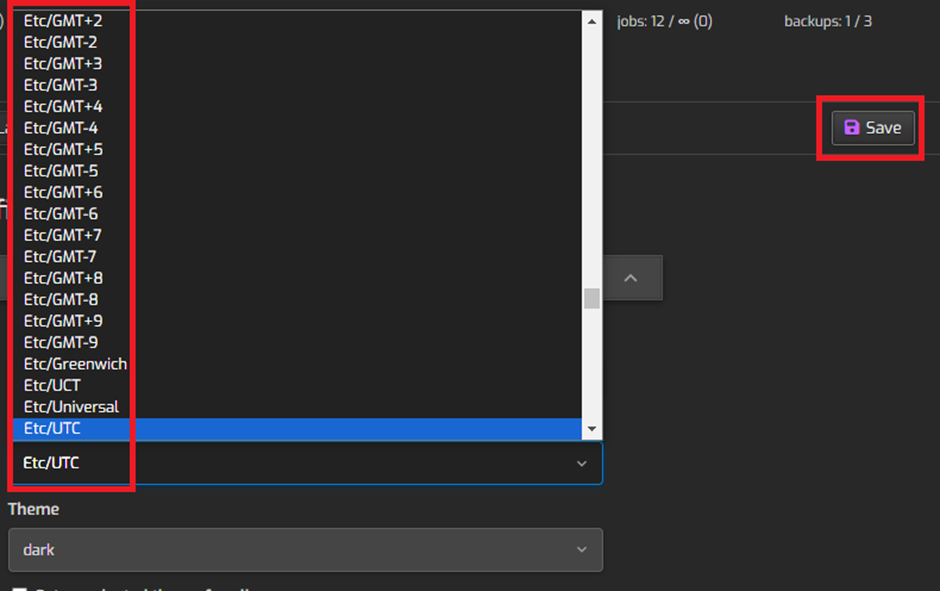
6. Select the desired time zone from the dropdown menu or enter the time zone manually. Click on “Save” to submit the changes.
By following these steps, you can successfully change the server’s time zone on your using the Hestia Control Panel. This ensures that all time-related operations and logs on your server are aligned with the correct time zone.