This guide outlines the steps involved in configuring your domain for use with cPanel email accounts. By following these steps, you’ll enable users to send and receive emails with addresses that utilize your custom domain name.
Steps to Configure Your Domain
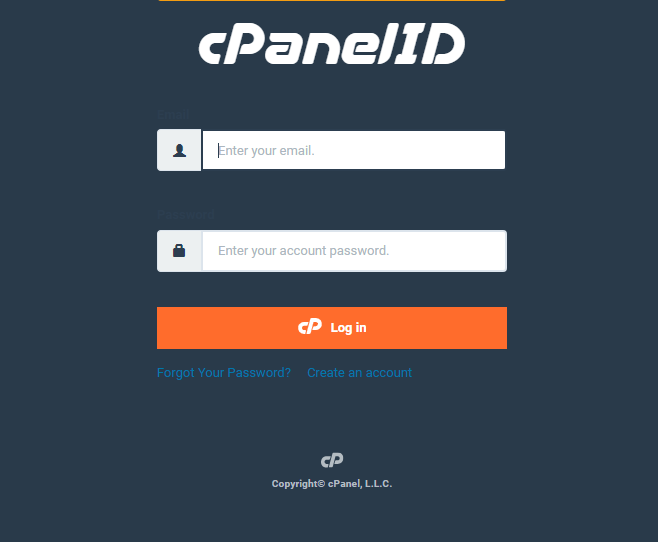
1. Navigate to your cPanel’s login page and enter your cPanel username and password.
2. Within the cPanel interface, search for the “Email” section. This may be displayed prominently on the homepage or categorized under a broader section like “Mail.”
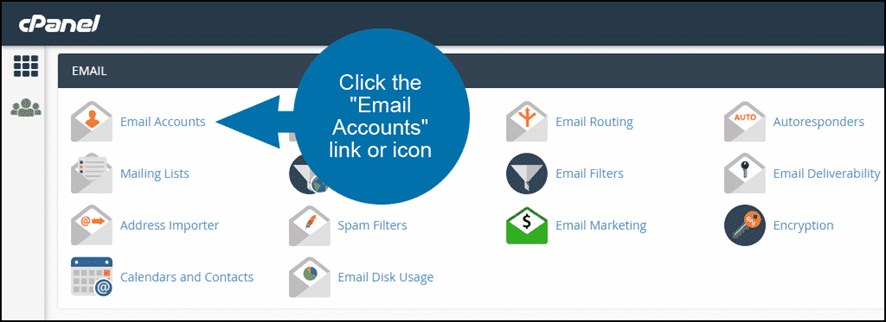
3. Click on the “Email Accounts” icon or menu option. This will display a list of existing email accounts or a setup interface if none have been created yet.
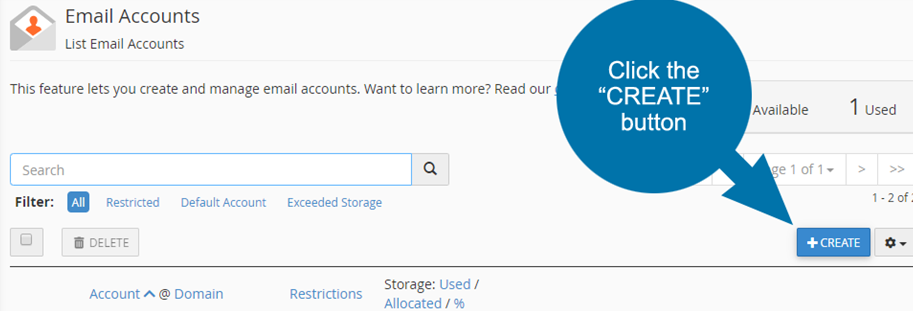
4. If you haven’t already established email accounts for your domain, click the “Create” button. Provide a desired username for the email address (e.g., info) and a secure password.
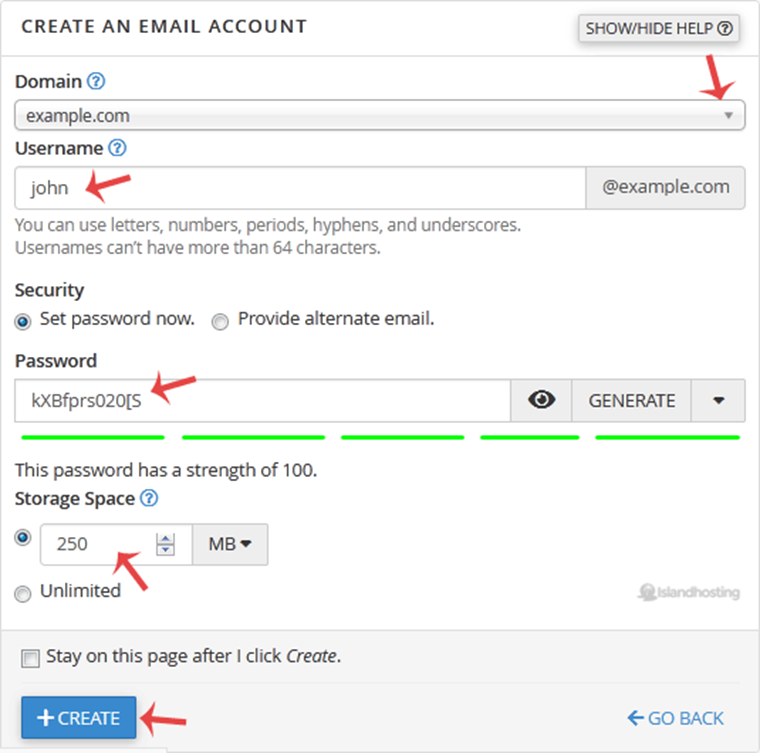
5. Choose the appropriate storage quota for the account and configure any additional settings as needed. Click “Create” to establish the email account.
6. In some cPanel configurations, the option to manage domain association for email accounts might be available within the “Email Accounts” interface.
7. If presented, look for a setting labeled “Domain” or a similar option. You may be able to choose the domain you want to associate with the email account from a dropdown menu.
MX Records
MX (Mail Exchange) records are crucial for directing incoming emails to your cPanel server. When you create a domain or email account then your web hosting provider will automatically configure the necessary MX records .
8. If you encounter email delivery issues then verify or manually configure the MX records. These records typically point to your cPanel server’s hostname, often following a format like “www.abcshop.com“.
9. Consult your BigCloudy’s documentation or support team for specific guidance on managing MX records if needed.
Testing and Verification
After completing these steps, you can test your new email account by sending a test email from another account and verifying its delivery. Enter the appropriate settings like username, password, incoming and outgoing mail server details to configure your email client software (e.g., Outlook, Thunderbird) and use the newly created email address.