To set up HTTP to HTTPS redirection for a website in the Hestia Control Panel (HestiaCP), you can follow this easy guide:
Steps to Set HTTP to HTTPS Redirection for Website in Hestia Control Panel
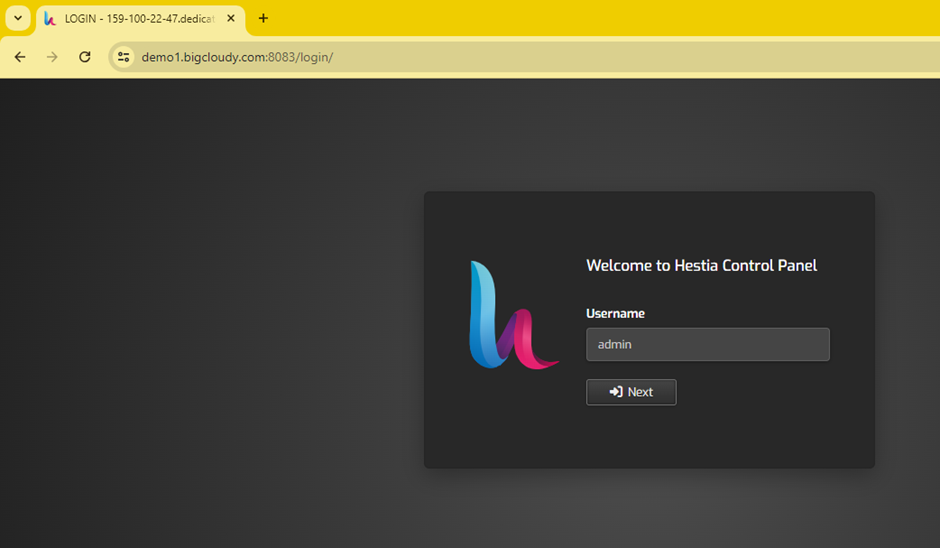
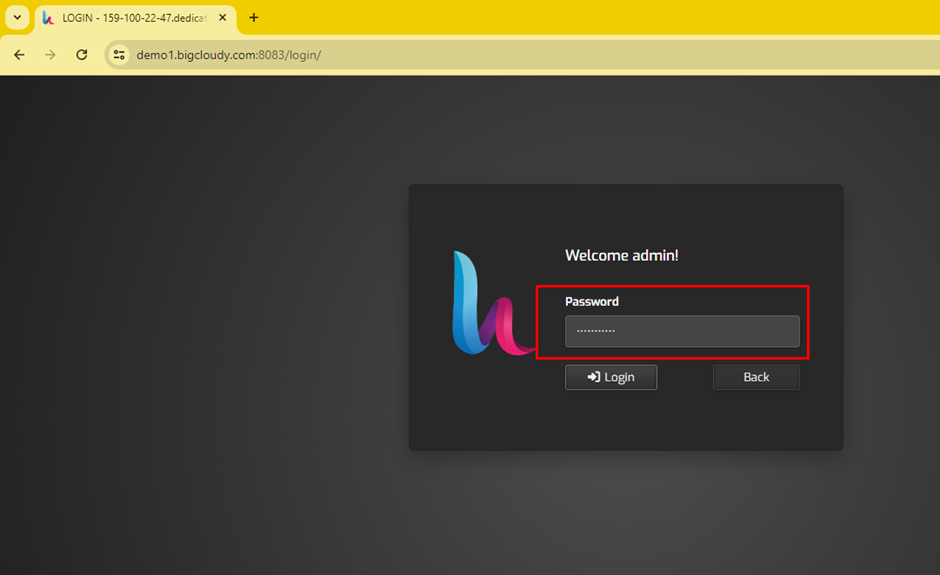
1.Log into HestiaCP
- Open your web browser and log into your “HestiaCP account” with admin credentials.
- Click to check this article on change your user password in Hestia CP.
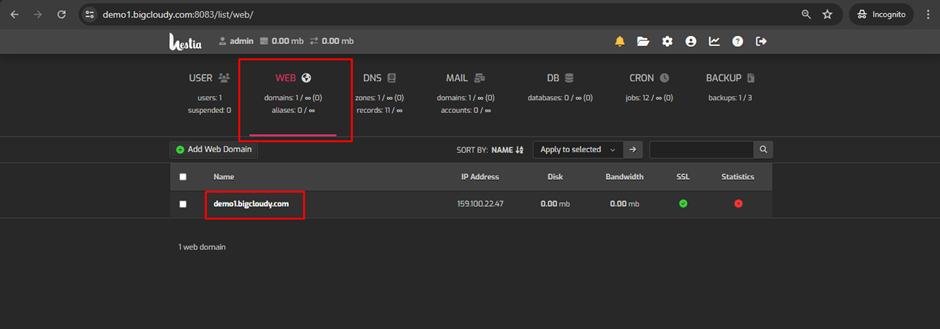
2. Select Your Domain
- Navigate to the “Web” section in the HestiaCP dashboard.
- Find the domain you want to set up the redirection for and click on it to manage the settings.
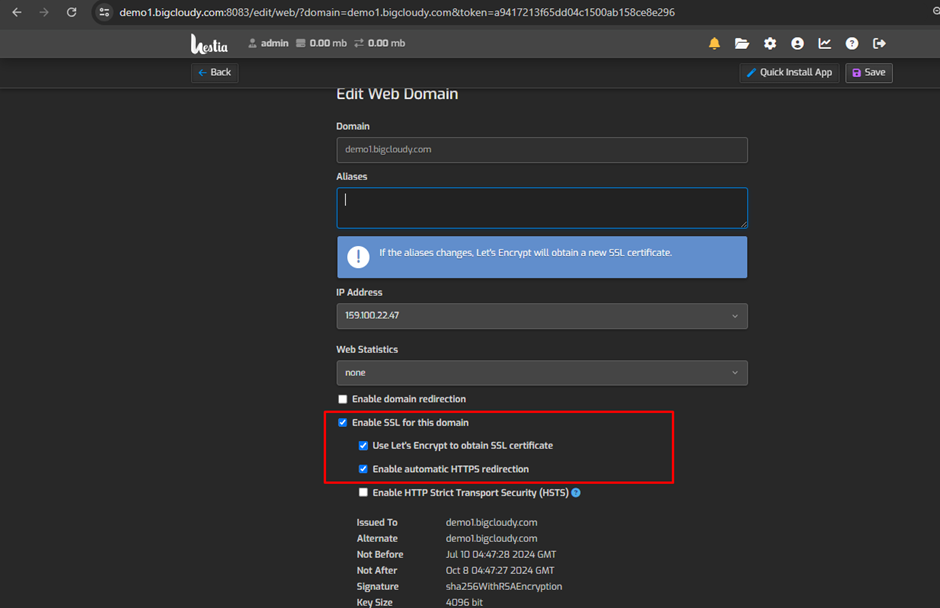
3. Enable SSL
- Make sure SSL is enabled for your domain. If it’s not already enabled then:
- Click on “Edit” next to your domain.
- Check the box labeled “Enable SSL Support”.
You can check the “Let’s Encrypt SSL” box if you need to generate a new SSL certificate. This will issue a free SSL certificate from Let’s Encrypt.
Now you have successfully setup the redirections from HTTP to HTTPS for your website.