Mastering server management on CyberPanel involves understanding its features, learning how to configure and optimize your server, securing your server, and continuously monitoring and maintaining its performance. Here’s a step-by-step guide to help you become proficient in managing your server with CyberPanel:
Steps to Master Server Management
1. Install CyberPanel
- Ensure you have a compatible server (e.g., CentOS or Ubuntu).
- Use the official CyberPanel installation script from their website to install it.
- Access CyberPanel via your server’s IP address or domain on port 8090 (e.g., http://your-server-ip:8090).
2. Familiarize Yourself with the Interface
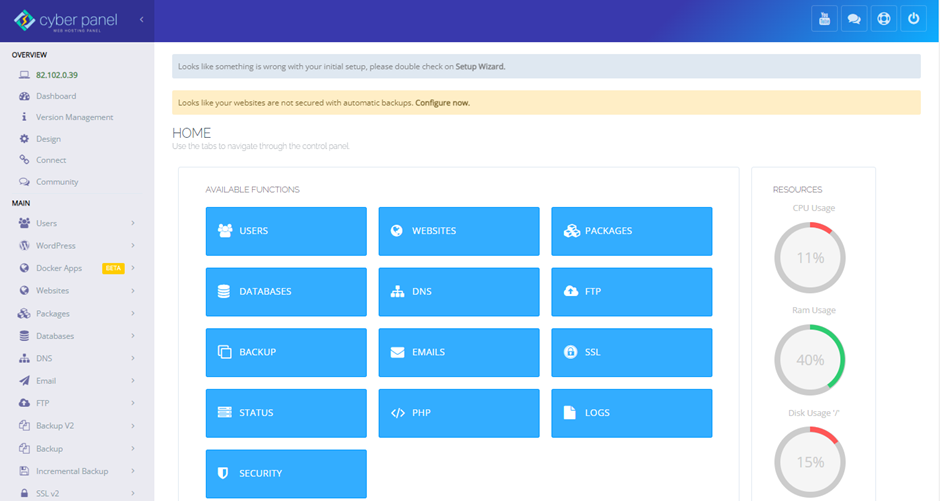
- Log in to CyberPanel using the admin credentials.
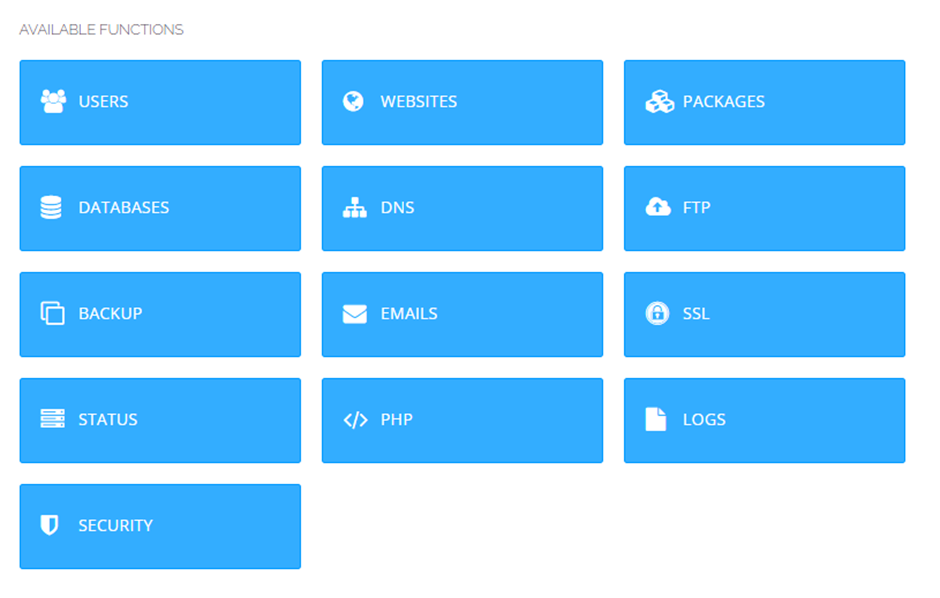
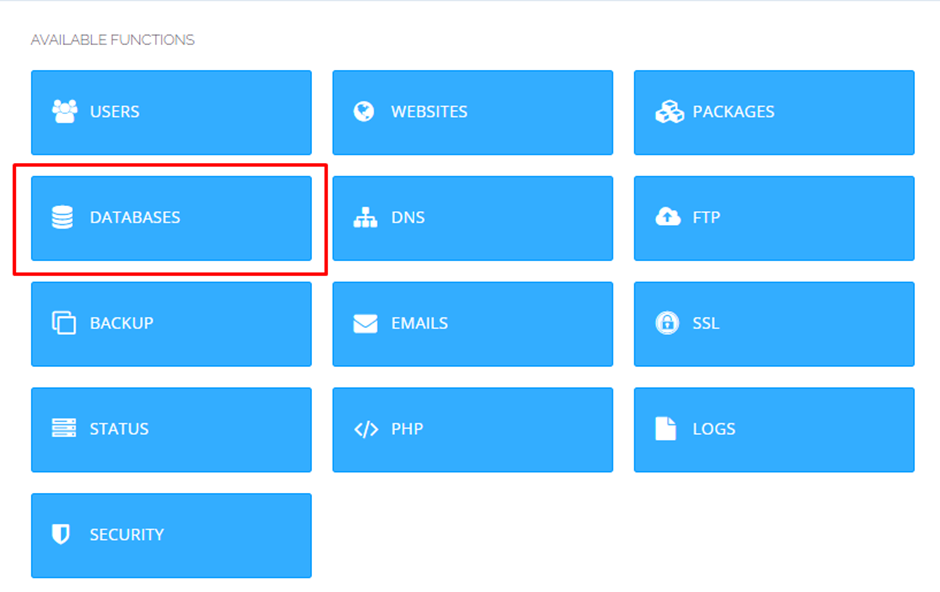
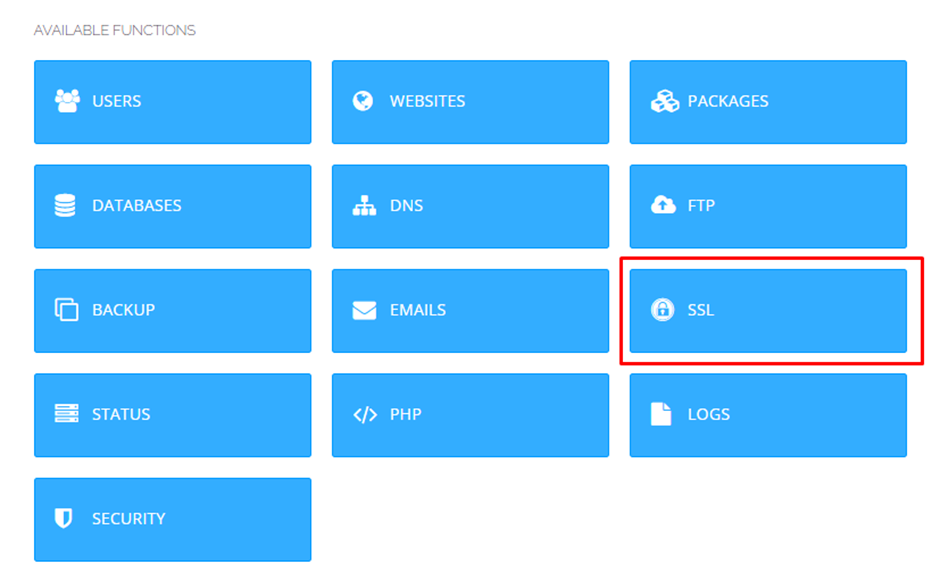
- Explore the dashboard, understanding sections like Websites, Databases, Email, SSL, and File Manager.
3. Server Configuration
i. Add and Manage Websites
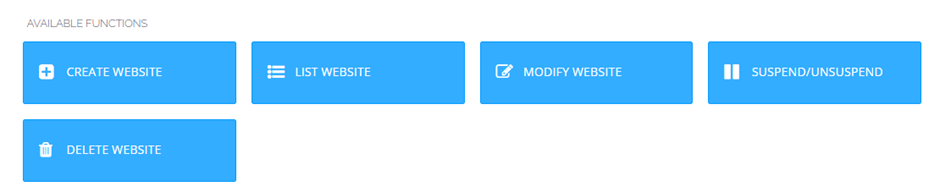
- Navigate to Websites > Create Website.
- Fill in the necessary details like domain, PHP version, and additional options.
- Manage existing websites by going to Websites > List Websites.
ii. Manage Databases
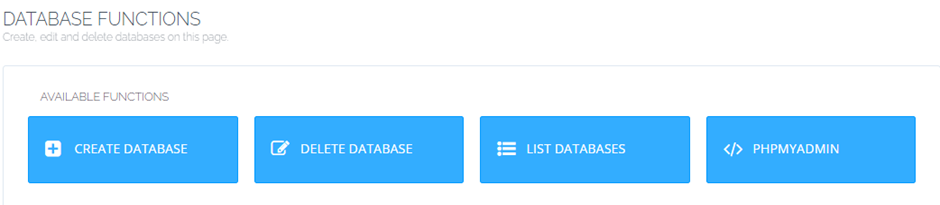
- Create and manage MySQL databases via Databases > Create Database.
- Use phpMyAdmin for advanced database management.
iii. Email Management
- Create and manage email accounts via Email > Create Email.
- Configure email settings and access webmail for each domain.
4. Optimize Performance
i. Configure Caching
- Use the built-in LiteSpeed Cache for WordPress or other CMS.
- Enable and configure caching settings in the LiteSpeed Cache section.
ii. Enable Gzip Compression
Add Gzip compression in the .htaccess file for better performance.
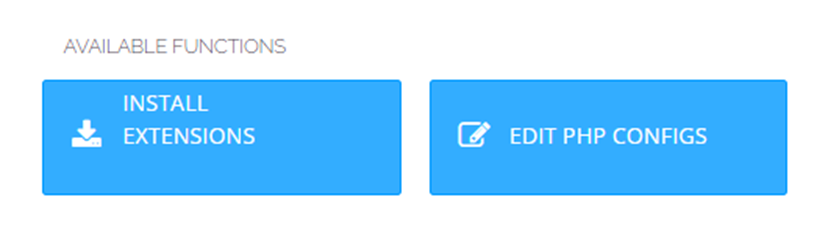
iii. Optimize PHP
- Choose the right PHP version for your applications in PHP > Install Extensions.
- Enable and configure PHP extensions as needed.

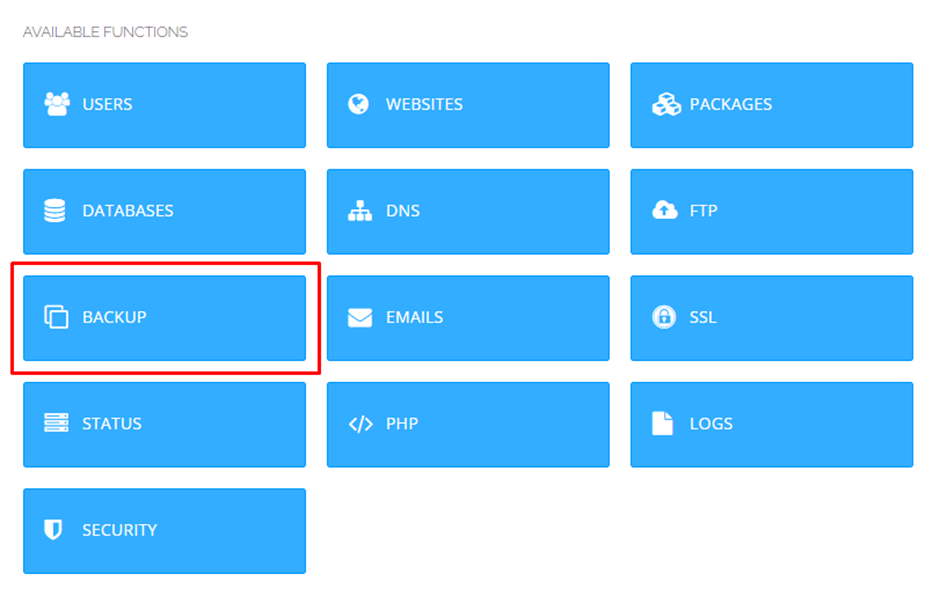
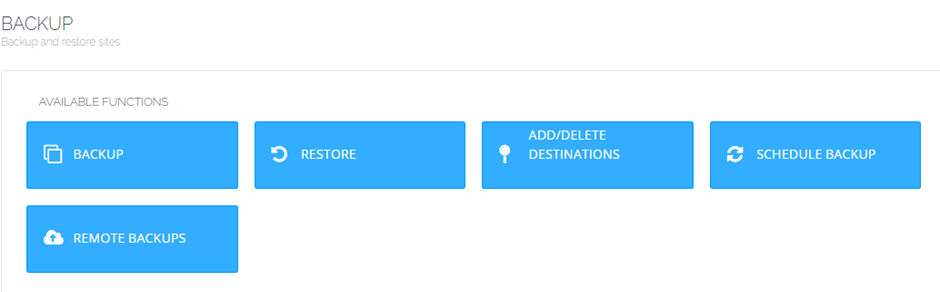
iv. Manage Backups
- Schedule backups in Backup > Create Backup
- Configure remote backups for added security.
5. Security
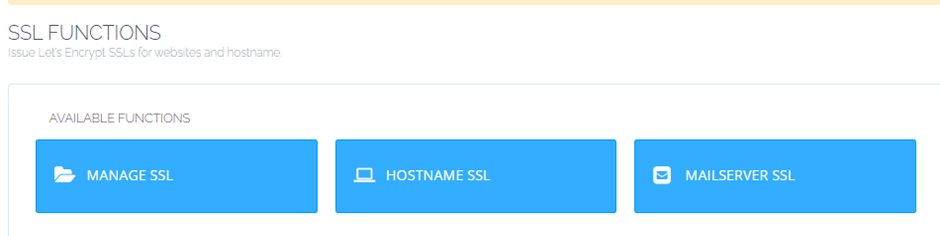
i. Install SSL Certificates
- Use SSL > Manage SSL to install Let’s Encrypt certificates for your domains.
- Ensure SSL certificates are renewed automatically.
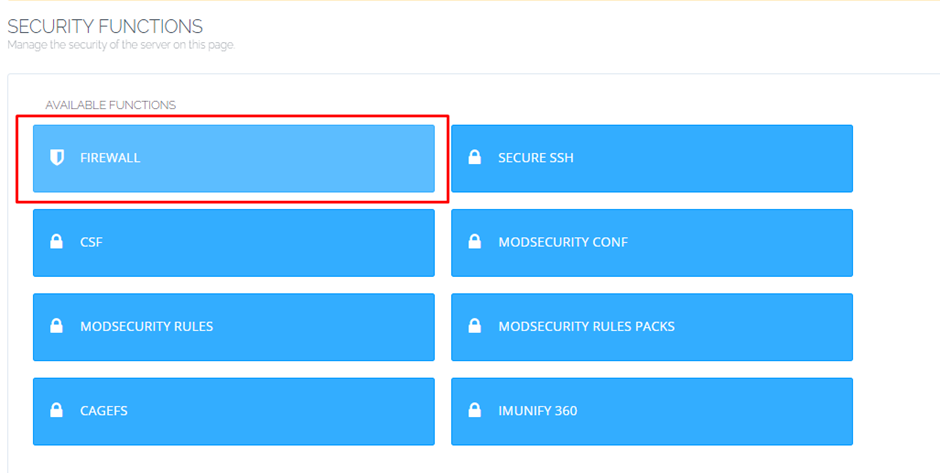
iii. Configure Firewall
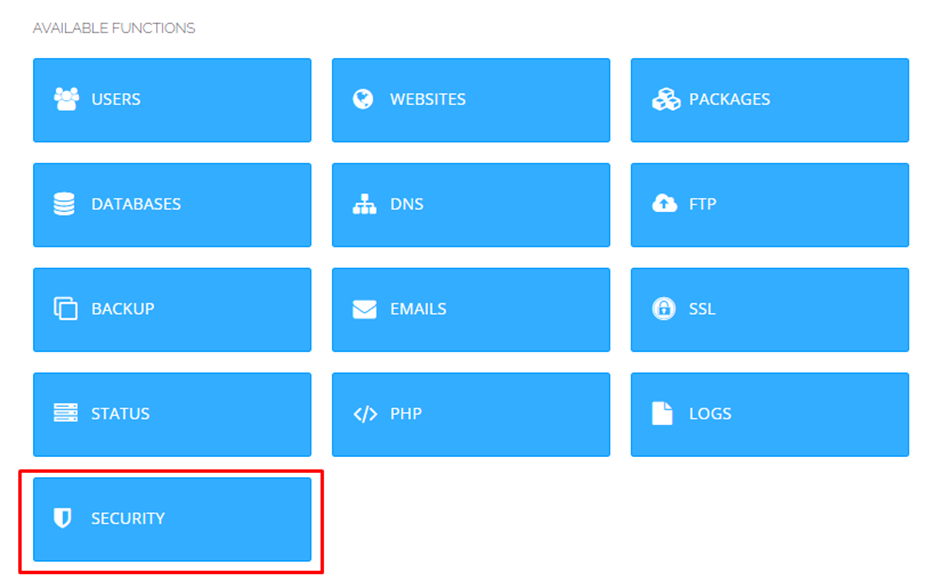
- Use the Security section to configure the firewall.
- Allow or block specific IP addresses and ports.
iv. Harden Server Security
- Update CyberPanel and server packages regularly.
- Disable unnecessary services and ports.
- Use strong passwords and enable two-factor authentication.
6. Monitoring and Maintenance
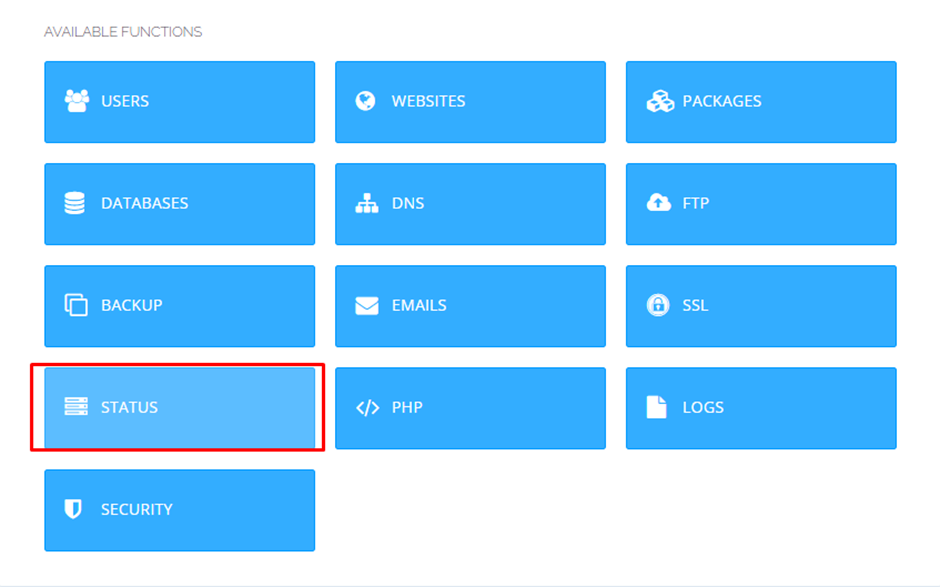
i. Monitor Server Performance
- Use the Server Status section to check resource usage, such as CPU, RAM, and disk space.
- Set up alerts for high resource usage.

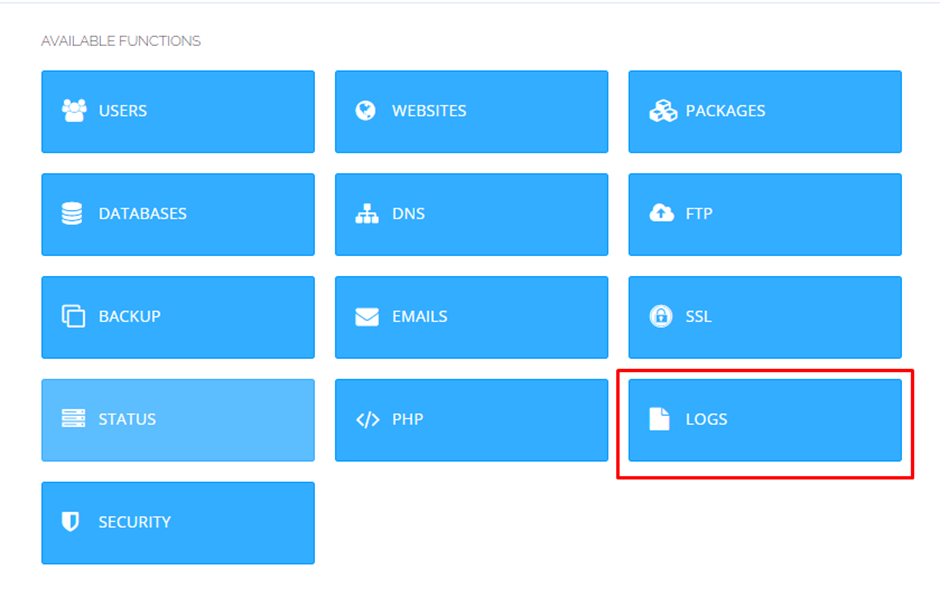
ii. Log Management
Regularly review server logs in the Logs section to identify and troubleshoot issues.
iii. Automatic Updates
Enable automatic updates for CyberPanel and system packages to ensure you are running the latest versions.
iv. Scheduled Tasks
Use Cron Jobs to schedule regular maintenance tasks, such as backups and script executions.
7. Advanced Management
i. CLI Management
- Use SSH to access your server’s command line for advanced tasks.
- Familiarize yourself with commands for server management, like
top,htop,systemctl, andjournalctl.
ii. Custom Configurations
- Edit server configuration files for web server (LiteSpeed/OpenLiteSpeed), database (MySQL/MariaDB), and PHP as needed.
- Use Nano or Vim to edit configuration files via SSH.
Now you have successfully mastered server management on CyberPanel easily in very less time.