Transitioning your website to a new hosting plan often necessitates restoring a backup from your previous provider. Fortunately, cPanel’s functionalities facilitate this process, enabling restoration even when switching hosting companies. This guide outlines the steps involved to restore backup cPanel on a different cPanel hosting plan.
Preparing for Restoration
2. Download the necessary backup files from your previous hosting provider.
3. This typically includes a compressed archive containing your website’s files and, if applicable, a separate database dump file.
4. Ensure compatibility between the backup format generated by your previous provider and the cPanel version on your new hosting plan.
5. Consult your new provider’s documentation if unsure.
Restore Backup cPanel on the New Hosting Plan
1. Log in to your new cPanel account associated with the different hosting plan.


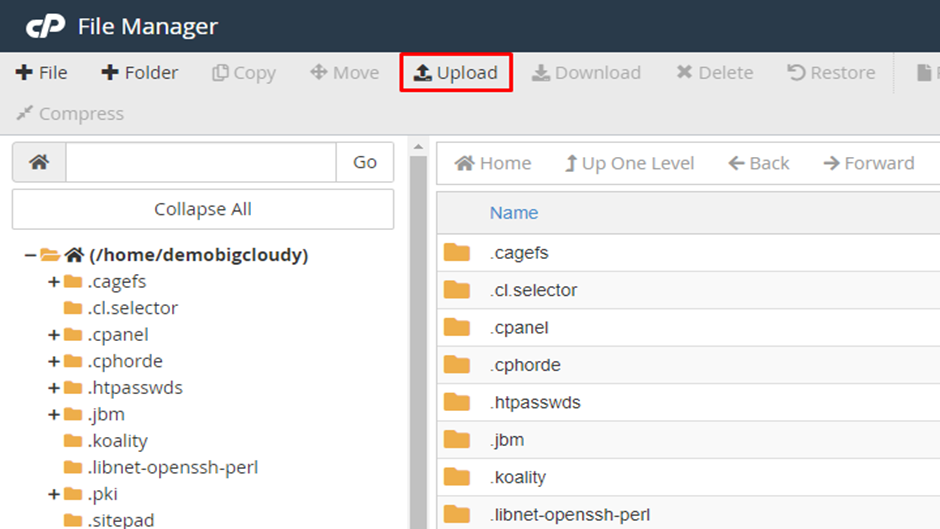
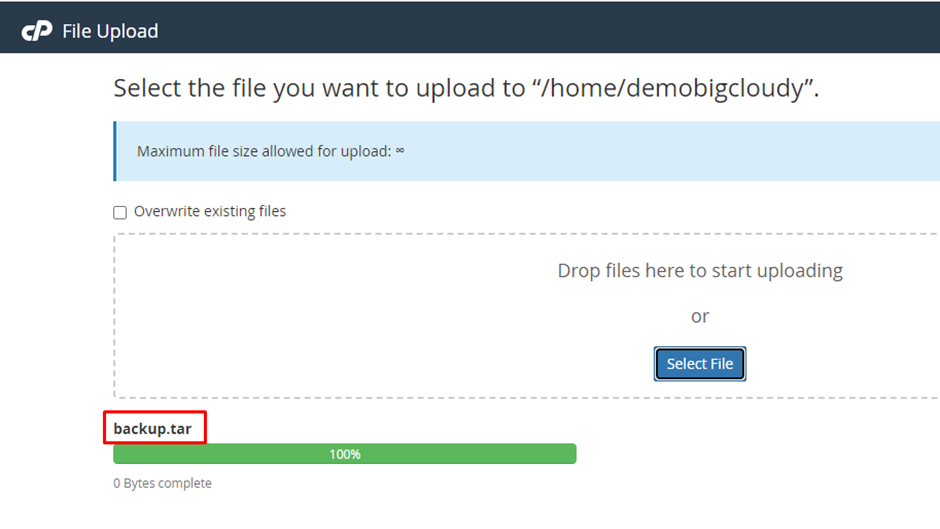
2 If your backup consists of compressed archive files, upload them to your new hosting account’s home directory using the “File Manager” within cPanel.

3. If your website utilizes a database, create a new database within your new cPanel account. Locate the “MySQL Databases Wizard” section and follow the steps to create a database with the same name and credentials (username, password) used in the backup.

4. Once the database is created, access the “phpMyAdmin” tool within cPanel.

5. Select your newly created database and utilize the “Import” functionality to upload the database dump file (typically a .sql file) obtained from your previous provider.
Depending on the type of backup you downloaded, you might need to extract the compressed archive files in your new hosting account’s home directory using the File Manager. Ensure proper file permissions are maintained during extraction.

