

The dreaded “DNS_PROBE_FINISHED_BAD_CONFIG” error can leave you staring at a blank screen, frustrated and disconnected. But fear not! This common error often has simple solutions. In this guide, we’ll break down 7 easy steps you can follow to diagnose and fix the problem, getting you back online and browsing smoothly in no time. From restarting your router to updating your network drivers, we’ll cover a range of potential fixes, explained clearly and concisely. So, grab your virtual toolbox, and let’s banish the “DNS_PROBE_FINISHED_BAD_CONFIG” error together!
What is meant by DNS_PROBE_FINISHED_BAD_CONFIG Error?
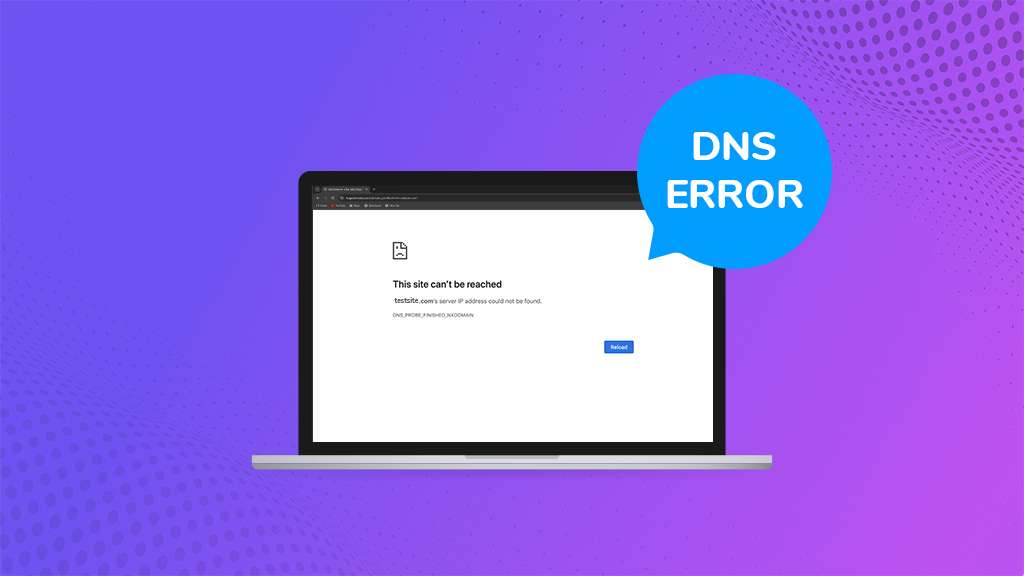
Have you ever encountered the frustrating “DNS_PROBE_FINISHED_BAD_CONFIG” error while trying to visit a website? This error message appears when your device faces difficulties in connecting to the internet. However, there is no need to worry! Let’s break it down:
Think of the internet as a vast network of highways, with websites acting as specific destinations. The DNS (Domain Name System) functions as a map and GPS combined, translating user-friendly website names (such as “BigCloudy“) into unique addresses (like 218.3.120.12) that computers can understand.
Now, the “DNS_PROBE_FINISHED_BAD_CONFIG” error indicates that this translation process is not functioning smoothly. It often occurs due to problems with your device’s DNS configuration or temporary glitches.
The good news is that there are several simple solutions to get you back online. Restarting your router, clearing your browser cache, or switching to different DNS servers often resolve the issue. If necessary, you can also explore advanced options like updating network drivers or seeking assistance from your internet service provider.
Remember, this error is not specific to a particular device or browser, so there’s no need to worry if you encounter it on your phone or computer. By following these steps and considering the additional tips provided in the full blog post, you’ll soon be navigating the internet smoothly once again!
Why It’s Important to Resolve the “DNS_PROBE_FINISHED_BAD_CONFIG” Error Promptly
Encountering the frustrating “DNS_PROBE_FINISHED_BAD_CONFIG” error can hinder your online activities. However, there are several compelling reasons why it is crucial to address this issue promptly:
1. Restore Connectivity and Productivity
This error disrupts your internet connection, preventing you from accessing websites, emails, and online work tools. By swiftly resolving the problem, you can regain online access, resume your tasks, and avoid any interruptions to your workflow or communication.
2. Prevent Further Frustration and Confusion
Technical errors can be perplexing, particularly for individuals who are not tech-savvy. Allowing the issue to persist can lead to increased frustration and ineffective troubleshooting attempts. Resolving the error promptly provides clarity and prevents unnecessary stress.
3. Mitigate Potential Underlying Issues
Although the error often stems from temporary glitches, it can sometimes indicate more significant problems with your network configuration, malware infection, or outdated drivers. Addressing the issue promptly enables you to identify and rectify any underlying causes before they escalate.
4. Avoid Security Risks
A malfunctioning DNS can leave your device vulnerable to security threats. Hackers may exploit this vulnerability to redirect you to malicious websites or steal sensitive information. By promptly fixing the error, you can safeguard your online security.
5. Enhance Overall Online Experience
A properly functioning DNS ensures a seamless and efficient internet experience. By quickly resolving the “DNS_PROBE_FINISHED_BAD_CONFIG” error, you are not only resolving a temporary problem but also investing in a more reliable and enjoyable online experience overall.
Common DNS Errors
Ever come across a perplexing message like “DNS_PROBE_FINISHED_BAD_CONFIG” while browsing the internet? No need to worry! These messages simply indicate a problem with your device’s connection to the internet. Let’s delve into the meaning of each error and how to resolve them:
1. DNS_PROBE_FINISHED_BAD_CONFIG
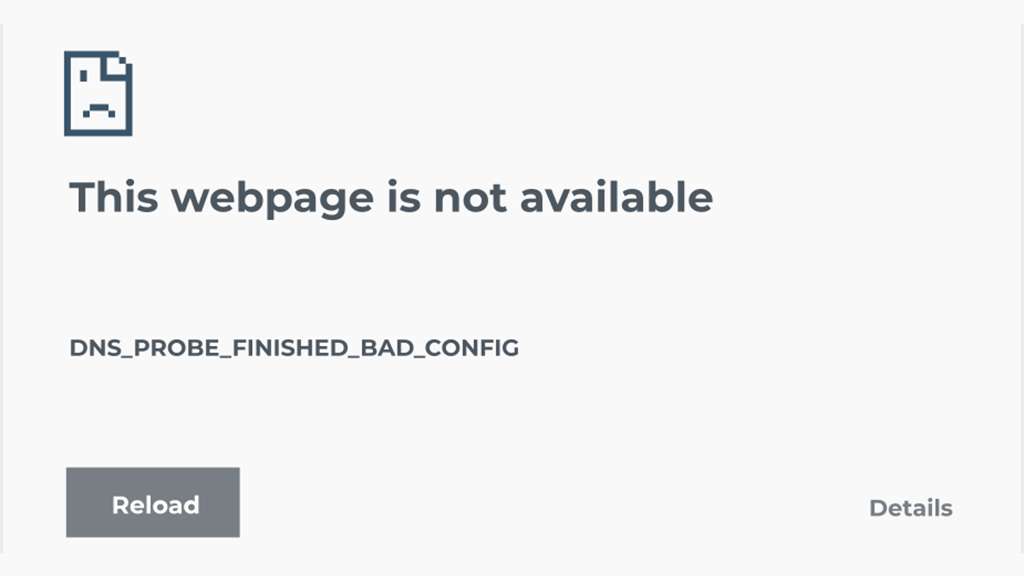
Imagine the internet as an extensive phonebook. DNS, or Domain Name System, acts as a translator by converting website names (such as “<invalid URL removed>“) into computer-readable addresses (IP addresses). This error signifies an issue with this translation process, usually caused by incorrect DNS settings on your device.
2. DNS_PROBE_FINISHED_NXDOMAIN
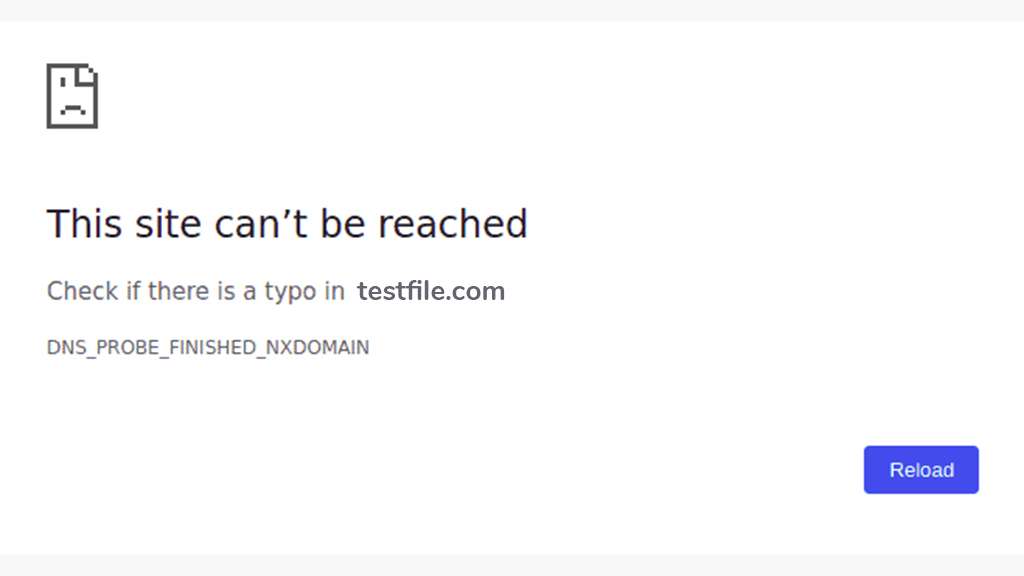
This message indicates that you are attempting to access a website that doesn’t exist. Think of it as searching for a name in a phonebook that is not listed. Double-check the website address for any typos or ensure that it is a legitimate website.
3. DNS_PROBE_FINISHED_NO_INTERNET
This one is self-explanatory – your device is disconnected from the internet. Check your Wi-Fi or cable connection for any problems, or verify if your internet service provider (ISP) is currently experiencing an outage.
- “This web page is not available.”
- “This site can’t be reached.”
- “Safari can’t find the server.”
- “We’re having trouble finding the site/web page.”
- “There is no internet connection.”
Quick Fixes for the DNS_PROBE_FINISHED_BAD_CONFIG Error
Have you ever come across the perplexing “DNS_PROBE_FINISHED_BAD_CONFIG” error while browsing? Don’t worry! This message simply indicates a problem with your device’s internet connection, but resolving it can be simpler than you might think. Let’s explore seven potential solutions:
1. Restart Your Router & Device
Have you ever come across the frustrating “DNS_PROBE_FINISHED_BAD_CONFIG” error? Although it may sound complicated, a simple reboot of your router can often do the trick. Here’s why:
Think of your router as a traffic controller for your internet connection. It assigns IP addresses and directs the flow of data. Sometimes, these internal settings can become stuck, resulting in connection problems.
By performing a quick reboot, you can clear any lingering issues and reset the router’s memory. This action often resolves temporary glitches and refreshes the IP address, potentially resolving the DNS error.
Here’s what you need to do:
i. Locate the power button on your router, typically found on the back or side.
ii. Press and hold the power button for approximately 30 seconds to ensure a complete shutdown.
iii. Wait for at least a minute before powering the router back on. This allows sufficient time for the internal processes to fully reset.
iv. While the router restarts, it is also advisable to reboot your computer or phone. This ensures that all devices are refreshed and prepared for the new connection.
v. Once everything is up and running again, reconnect to your Wi-Fi or LAN network.
vi. Try accessing the website once more. With any luck, the DNS error will be resolved!
2. Clear Your Browser Cache
Consider your browser’s cache as a temporary storage area for frequently visited websites. It stores various types of data, such as images and text, to speed up the loading of pages during subsequent visits. However, there are instances when this cached data becomes outdated or corrupted, resulting in unexpected problems.
By clearing the cache, you eliminate this potentially problematic data. Although it won’t directly resolve the DNS error, it can help identify and eliminate any browser-related issues, providing a fresh start for your browsing activities.
Before clearing the cache, you may want to try accessing the website using a different browser. If it functions properly there, then clearing the cache of your usual browser might prove beneficial.
Keep in mind that the process of clearing the cache differs depending on your operating system and browser. Most browsers offer options like “Clear browsing data” or “Clear history” within their settings menus. For detailed instructions, please consult our comprehensive guide on clearing your browser cache.
Even if clearing the cache doesn’t resolve the DNS error, it is still a good practice to check your cache to ensure a smooth and efficient browsing experience. If the error persists, don’t hesitate to proceed with other troubleshooting steps.
3. Flush DNS & Renew IP
Have you ever come across the perplexing “DNS_PROBE_FINISHED_BAD_CONFIG” error? No need to panic, as it doesn’t signify the end for your computer! This error message often appears when your device clings to outdated information, resulting in connection problems. But fear not, a simple “flush and renew” can resolve the issue!
Think of your DNS cache as a phonebook for websites. It stores recently visited addresses to expedite browsing. However, outdated entries can sometimes lead to confusion. By flushing the cache, you eliminate this temporary information, compelling your device to search for fresh website addresses.
On the other hand, your IP address functions as a unique house number on the internet. Occasionally, it may require a refresh to ensure seamless communication. Renewing your IP address assigns you a new “house number,” potentially resolving any problems associated with the old one.
To flush your DNS cache and renew your IP address, follow these steps based on your device:
I. Windows
i. Open the Command Prompt app (search for “cmd” in the Start menu).
ii. Execute the following commands one by one, pressing Enter after each
ipconfig /flushdnsipconfig /releaseipconfig /renewII. Mac
i. Open the Terminal app (Applications > Utilities > Terminal).
ii. Run the appropriate command based on your macOS version (refer to online guides for specific details).
III. Android
i. Go to Settings > Apps > App info (select your browser).
ii. Tap on Storage > Clear Cache.
IV. Ubuntu
i. Open the Terminal app (Ctrl + Alt + T).
ii. Execute the command: sudo systemd-resolve –flush-caches
Remember: If you’re uncertain about any of the steps, consult online guides or documentation specific to your device or software.
By following these instructions, you can eliminate the confusion and give your device a fresh start. With any luck, the “DNS_PROBE_FINISHED_BAD_CONFIG” error will become a thing of the past! If it persists, don’t worry! We have additional troubleshooting tips on the way.
4. Manually Change DNS Settings
Encountering the “DNS_PROBE_FINISHED_BAD_CONFIG” error could indicate a problem with the servers assigned by your internet service provider (ISP). However, there is no need to worry as there are solutions available! By manually modifying your DNS settings to public servers, you can potentially resolve any issues with your ISP’s servers.
Think of DNS servers as phonebooks for the internet. They translate website names into numerical addresses that computers can comprehend. If the phonebook provided by your ISP is outdated or not functioning properly, you can turn to alternative options.
Public DNS servers, such as Google’s 8.8.8.8 and 8.8.4.4, are widely accessible and reliable choices. Switching to these servers temporarily allows your device to utilize a different “phonebook” to locate websites, potentially bypassing the original problem.
The process for adjusting your DNS settings may vary slightly depending on your operating system:
I. Windows
i. Right-click on the network icon in your taskbar and select “Open Network & Sharing Center“.
ii. Click on your current network connection and then choose “Properties“.
iii. Under the “Networking” section, locate “Internet Protocol Version 4 (TCP/IPv4)” and click on “Properties“.
iv. Select “Use the following DNS server addresses:”.
v. Enter 8.8.8.8 in the “Preferred DNS server” field and 8.8.4.4 in the “Alternate DNS server” field.
vi. Click “OK” on all open windows.
II. Mac
i. Click on the Apple icon and select “System Preferences“.
ii. Click on “Network“.
iii. Select your network connection and click on “Advanced“.
iv. Navigate to the “DNS” tab.
v. Click the “+” button and add 8.8.8.8 and 8.8.4.4 as DNS servers.
vi. Click “OK” on all open windows.
5. Delete Temporary Files: Corrupted temporary files can cause issues.
Encountering the “DNS_PROBE_FINISHED_BAD_CONFIG” error can be quite frustrating, but sometimes the culprit behind it is simply clutter! Your devices, acting as diligent digital hoarders, accumulate temporary files to expedite processes. However, if any of these files become corrupted, they can lead to connection problems. This is where the magic of cleaning up comes into play!
Think of temporary files as sticky notes that your computer uses to quickly recall information. They store data such as website data or downloaded files for easy access. However, just like physical clutter, they can occasionally cause issues.
Deleting these temporary files is a safe and often effective method to clear the digital space and potentially resolve the DNS error. Here’s how to do it on different systems:
I. Windows
i. Firstly, open the search bar and type “%temp%“.
ii. Press Enter to access the “Temp” directory.
iii. Select all files and folders (Ctrl+A) and delete them.
II. Mac
1. Open Finder and navigate to your Home folder.
2. Press Cmd+Shift+. (period key) to reveal hidden files.
3. Go to ~/Library/caches and delete the relevant folders.
Alternatively, open Finder and press Shift+Cmd+G. Enter “~/Library/caches” and delete the folders.
III. Ubuntu
Good news! The /tmp folder automatically empties upon reboot, so you don’t need to worry about this step.
6. Disabling Security Software to Resolve DNS Issues.
The “DNS_PROBE_FINISHED_BAD_CONFIG” error can pose a significant obstacle, and sometimes even your security software can be the cause. While antivirus programs, firewalls, and VPNs are essential for online safety, they can occasionally clash with network settings, especially your DNS servers.
Think of your security software as a guardian, safeguarding your device against online threats. However, at times, these guardians can become overly vigilant and block legitimate connections. Temporarily disabling them allows your device to communicate freely, potentially resolving the DNS error.
Please note that this is only a temporary solution for troubleshooting purposes! It is not advisable to leave your security software disabled for extended periods.
To temporarily disable security software in Windows, follow these steps:
i. Click on the Windows icon and search for “defender“.
ii. Open “Virus & threat protection” and toggle off “Real-time protection“.
iii. In the left panel, click on “Firewall & network protection” > “Domain network“.
iv. Toggle off the switch for “Windows Defender Firewall“.
v. Try accessing the website again.
Please keep in mind that the process may vary depending on your operating system and software. Refer to your software’s documentation for specific instructions
Additionally, consider disabling any WordPress security plugins you may have. Although unlikely, they could potentially cause conflicts.
7. Updating Network Drivers for a Smooth Connection
Encounter the frustrating “DNS_PROBE_FINISHED_BAD_CONFIG” error after exhausting all other options? Do not lose hope! We have indeed one final solution that may resolve the issue: updating your network drivers.
Consider network drivers as the intermediaries between your device and the internet. They surely ensure that your computer comprehends the language of the network, facilitating seamless communication. However, outdated or corrupted drivers can lead to misinterpretations, resulting in connection problems such as the DNS error.
The positive news is that updating your drivers is often a simple process. Here is how you can do it on various operating systems:
I. Windows
i. Type “device manager” in the search bar on the taskbar and open the application.
ii. Expand the list by clicking on “Network adapters.”
iii. Right-click on your network driver and select “Update driver.”
iv. Choose “Search automatically for updated driver software.”
v. Restart your computer and attempt to access the website again.
II. Mac
MacOS typically handles driver updates automatically. However, you can manually check for updates:
i. Click on the Apple icon and choose “About This Mac.”
ii. Click on “Software Update” and install any available updates.
III. Android
i. Go to “Settings” > “About Phone/Tablet/Phone/System” > “System Updates.”
ii. Follow the on-screen instructions to install any available updates.
By following these steps, you can update your network drivers and potentially resolve the “DNS_PROBE_FINISHED_BAD_CONFIG” error.
Conclusion
By utilizing these 7 straightforward procedures as your troubleshooting companions, you can bid farewell to the “DNS_PROBE_FINISHED_BAD_CONFIG” error. It is important to keep in mind that restarting your router and clearing caches are usually effective solutions for minor issues, whereas flushing DNS and updating drivers tackle more complex problems. If you continue to encounter difficulties, do not hesitate to seek assistance from your internet service provider or knowledgeable friends in the field of technology. By adhering to these steps and remaining resourceful, you will regain your confidence in browsing and once again relish the vast online realm!